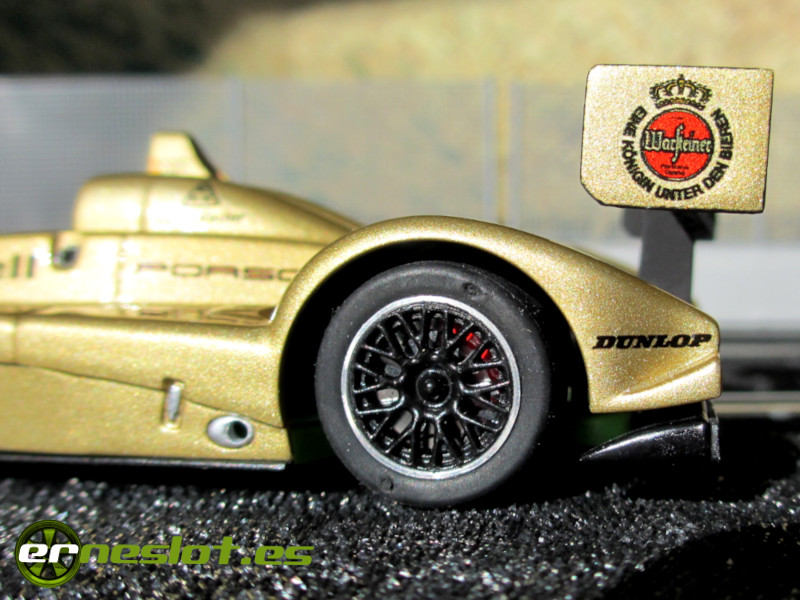
Pescarolo C60 "Warsteiner"
The brewing company Warsteiner was a regular sponsor in car racing in the 70s, 80s and 90s, sponsoring cars from various championships such as touring cars (the BMW 2002), Sport-Protoripos (such as the BMW M1 at Le Mans, the BMW 320 Gr .5, the Porsche 956K or the Porsche 911 GT1/98), in the German DTM (sponsoring the Mercedes CLK) or F1 single-seaters (such as the Arrows A1 and A2 among others).
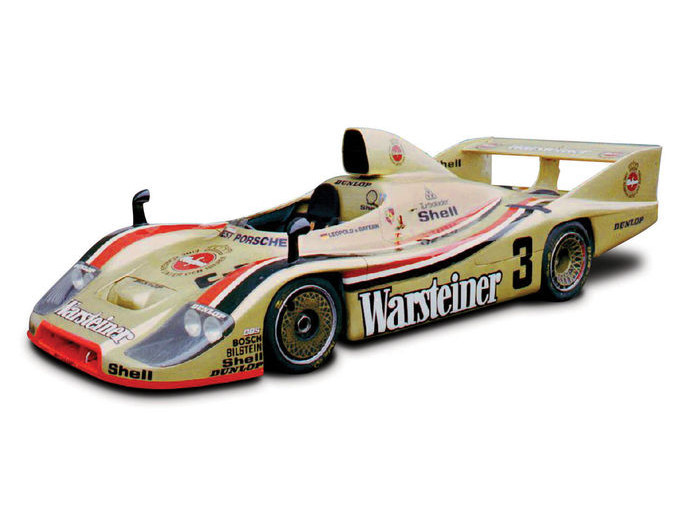
Especially nice for me is the livery of the Porsche 936/80 of the Joest team who drove Leopold Von Bayern, completely painted gold with the red, black and white stripes running along the bodywork. It is a decoration that I had stored in the mental drawer of "decorations to do at least once", waiting to find the right car. This is an image taken from the internet of the car I am referring to:
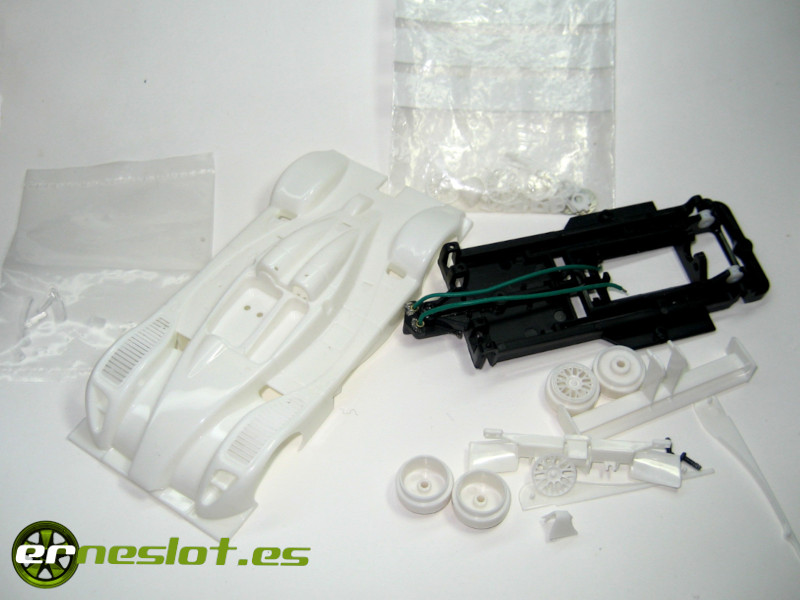
In one of my visits to the slot club I used to go to, they had for sale a complete white kit of the Pescarlo C60 from Avant Slot except for the mechanics at a very good price, and as I have a special weakness for white kits, and the Pescarolo C60 is a prototype that I especially like, I bought it. The Avant Slot LMP models seem to me to be very nice cars, as well as competitive, which lend themselves to many decorations and having a blank canvas like the Pescarolo kit at hand I could not miss the opportunity. After brooding it, the car seemed like a good base to make a livery similar to that of Leopold Von Bayern's Joest Porsche 936/80.
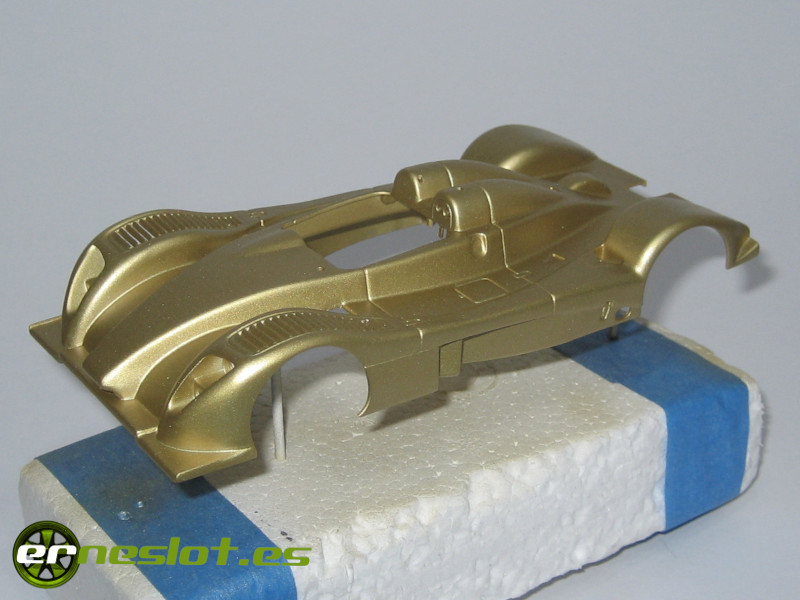
I had the car and the decoration decided. As I thought it was going to be a quick job, after the usual process of smooth sanding and cleaning the body, I primed and airbrushed the body with Tamiya X-12 gold color, which with practically a single coat left a perfect finish on the surface of the car. I chose that shade of gold because the Tamiya X-12 has a slight greenish reflection that is closer to the gold tone of the Joest team's Porsche 936/80, different for example from Humbrol's reference 16 gold enamel, which has a more reddish reflection. Although it is quite beautiful, it seemed less suitable than the Tamiya X-12. The "problem" came when I had to make the decision of how to paint the red, white and black stripes along the body, I was not sure whether to do the masking and paint them directly or to do them with waterslide decal paper (a much simpler job ). While I was making the decision, I was doing other jobs that shelved the Pescarolo for about two years.
It is not the first time that happens to me, nor the last that will happen to me, I start a job, for whatever reason I leave it parked and when I return to it in the best of cases it has been months, on this page there are some works that have been stopped years, even some that I don't know if I'll ever finish. The fact is that this was one of those works that I stopped for a nonsense that was not important.
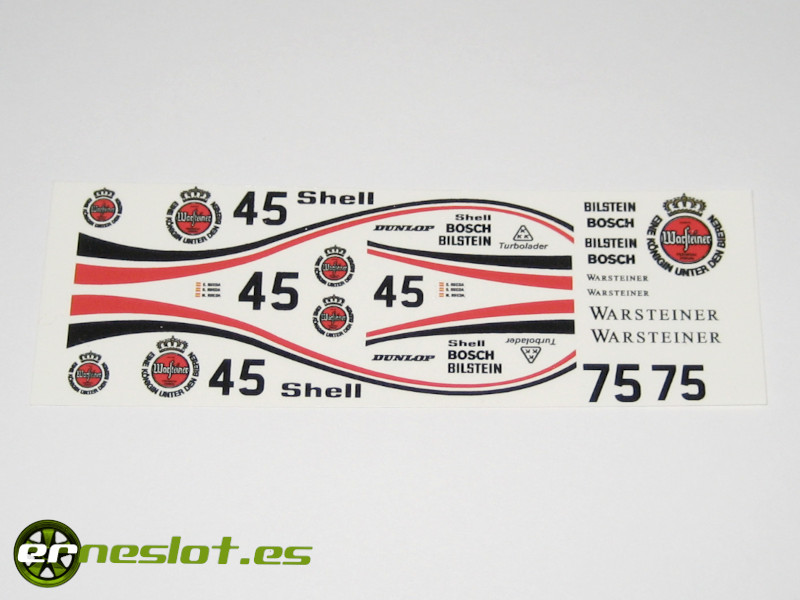
Time passed and a moment came when I said "I have to finish it anyway" and made the decision to do the rest of the decoration with decals, mostly self-made except for some "Warsteiner" letters for the rear wing taken from a commercial decal set. It is very easy to get sets of commercial decals from this sponsor since many different cars have worn their colors in various competitions as I have commented previously, so I got a set of decals to use those that I could not print by myself, such as the letters or any other logo that has a white background. It was ruled out to make the white stripes since either I would have to paint them on the bodywork (with a very complex masking job that I did not want to do) or I had to print them on white waterslide decal paper, which leave a white border on the outline of the the decal that I did not like. So I developed the set of decals to decorate the car on transparent decal paper that appears in the following image:
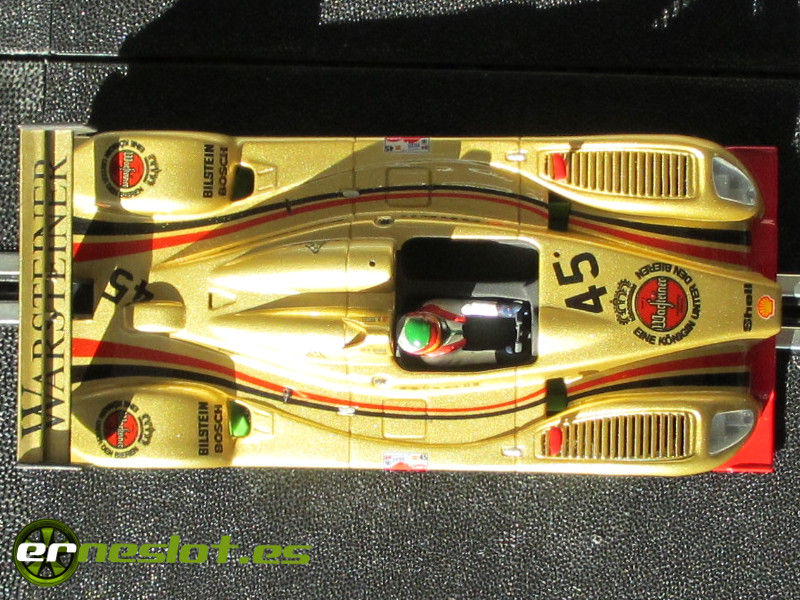
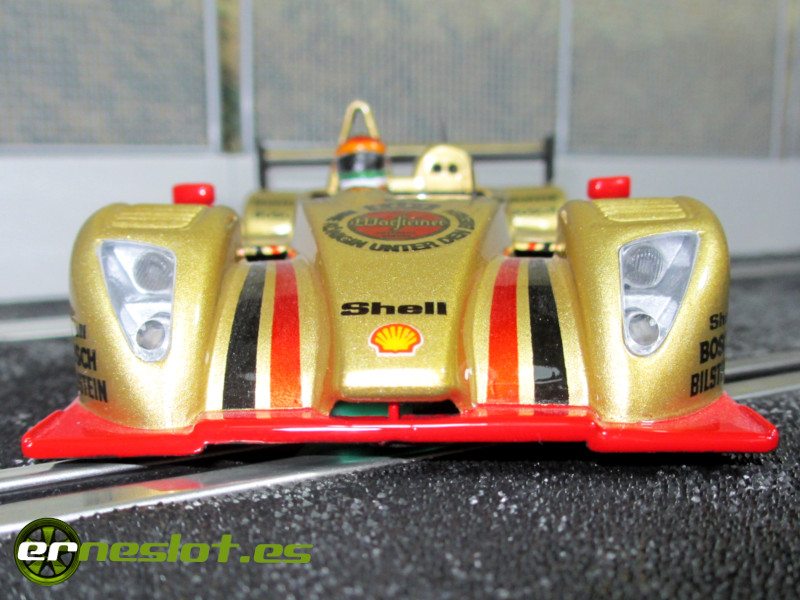
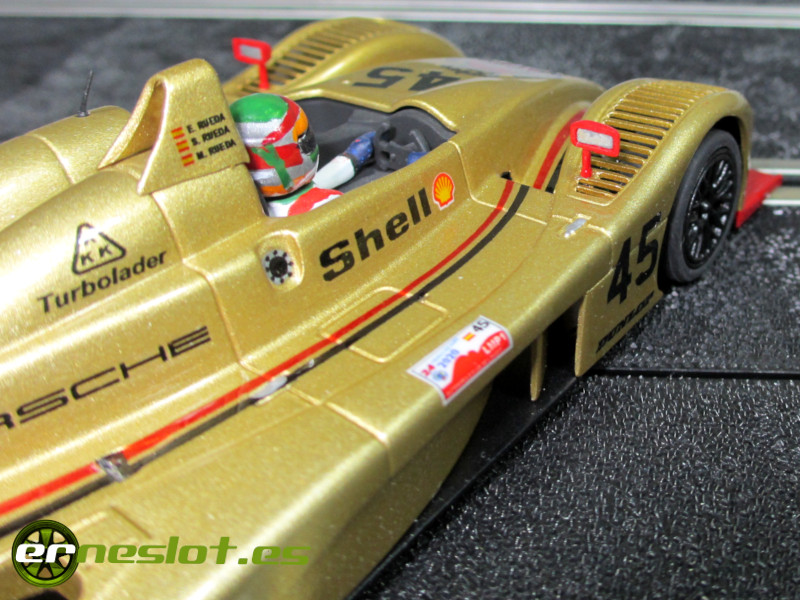
The placement of the single logos did not have much difficulty, but those corresponding to the red and black stripes were much more complicated for two reasons, on the one hand, the decals of the longitudinal stripes were very long and more complicated to place on the surface of the bodywork, but the main difficulty was that it was very difficult for me to place them in their correct position because the gold paint had left the surface somewhat rough and despite flooding it with water to be able to move them well into position, it was quite difficult for me to place them properly. With a little patience and helping me with a brush and a good amount of water to make them slide across the surface, I left all the decals placed as they appear in the following images.
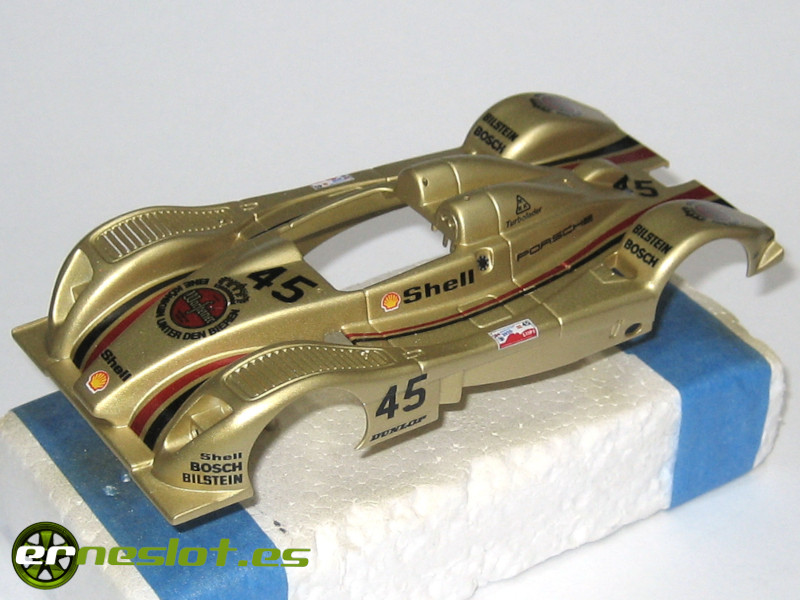
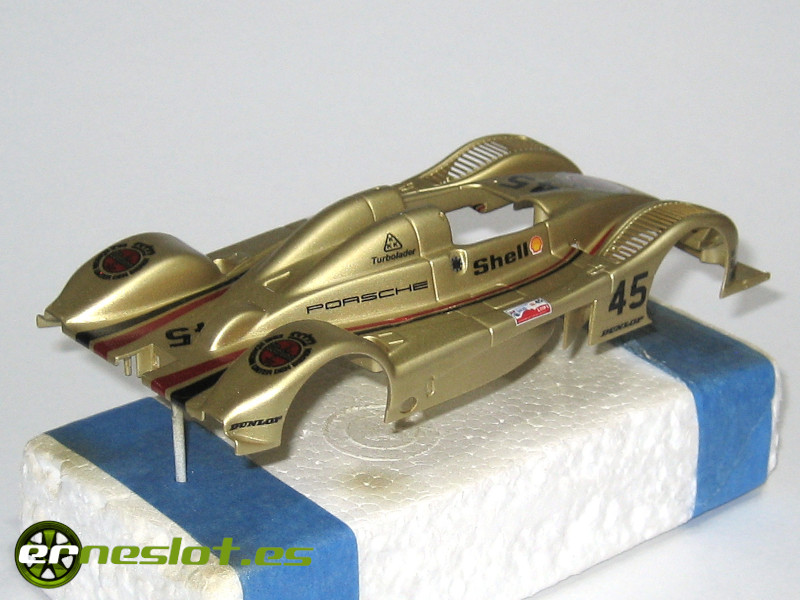
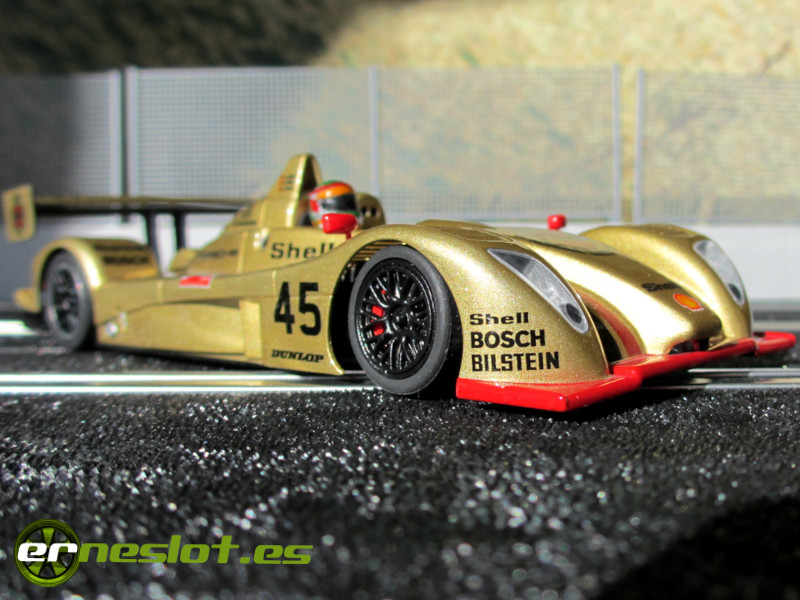
I let the decals dry for several days because I had wet the surface a lot and, when it was dry, I applied two coats of automotive lacquer to protect the decoration with the usual process, once the first coat was dry, I gently rubbed a fine sandpaper over the surface to remove spots and then I applied the second coat that leaves the car finished. But as I did on the wing of the Ford F150 Nascar Truck, after the first coat of lacquer I painted the nose of the car red (Tamiya X-7), although in this case I had already decided that I was going to do it that way. In this way, when painting red on the varnish layer, in case for whatever reason it looks bad, it would not spoil the decoration and could remove the red paint and reapply it correctly. It didn't happen anyway, and the red paint was correctly applied on the first try.
Apart from painting the front of the car red, I also painted the background of the headlights and the hood latches in Vallejo Model Air silver 71.063 reference. Once the paint on these details had dried well, I applied the second and final coat of automotive lacquer.
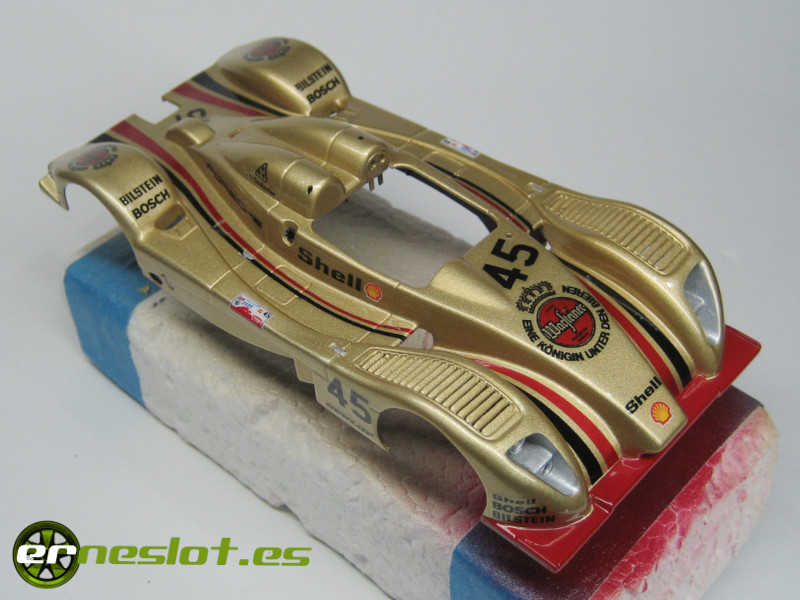
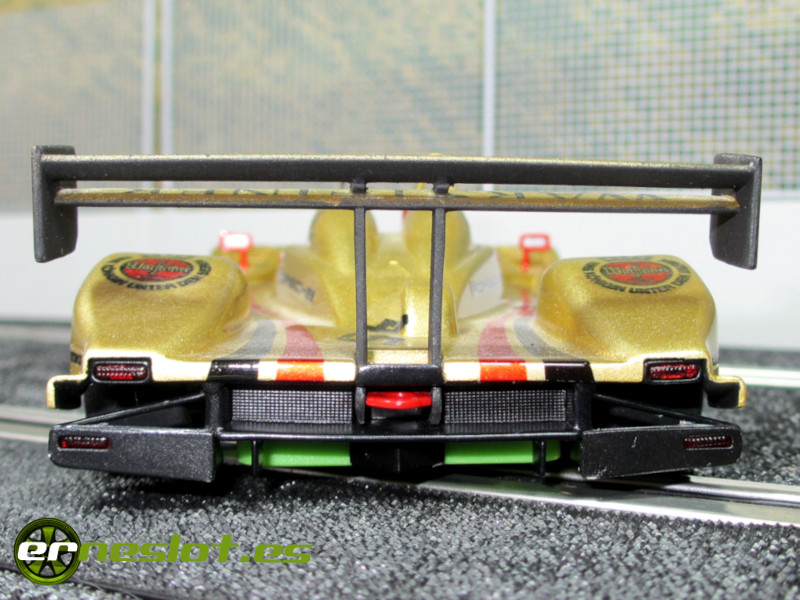
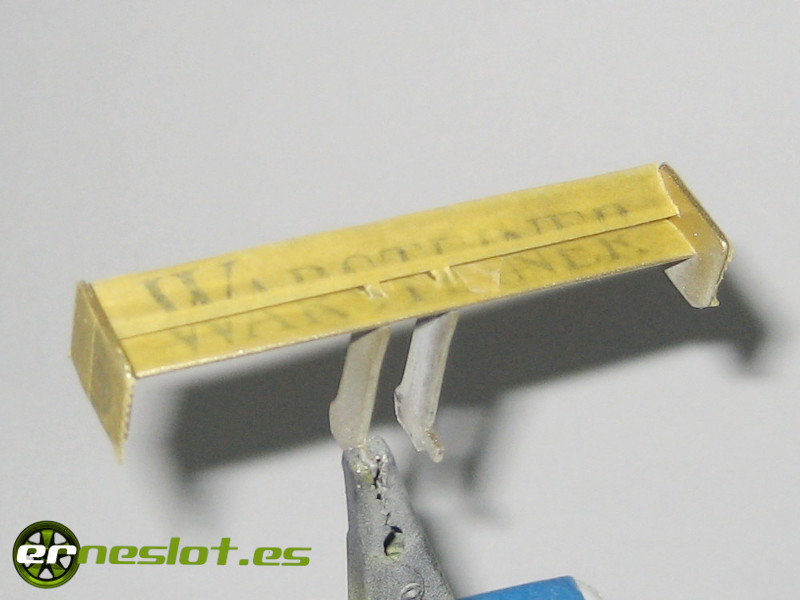
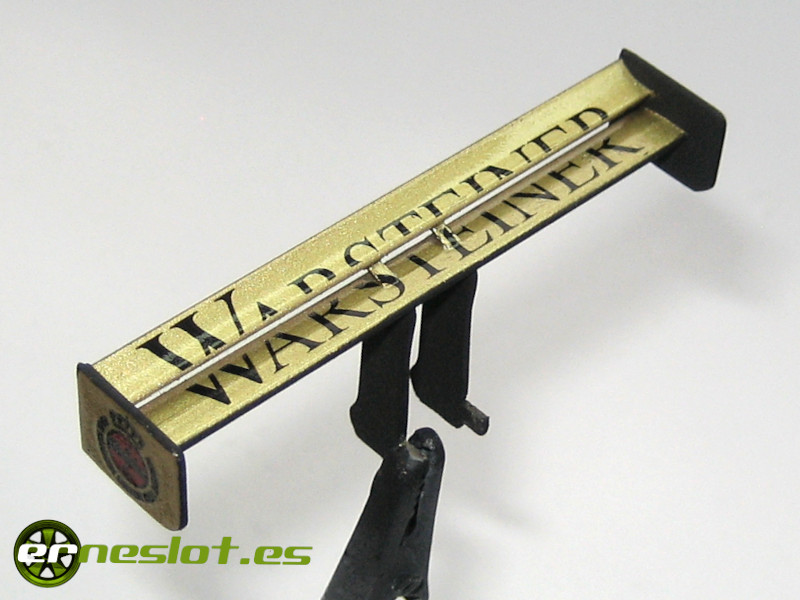
For the rear wing I wanted to do something different from what I had done before. I did not want to leave it painted in one color so I decided to do it in two colors and also with a color finished in gloss and another matte. First I painted the rear wing the same gold color (Tamiya X-12 acrylic) as the body. Once the paint was dry, I placed the decals, with the one for the horizontal planes cut in two to place one half on each plane. After the corresponding drying times, I applied a coat of automotive varnish to protect the decals. Normally when I varnish wings, mirrors and other small parts I only apply one coat of varnish, since with a single coat is perfectly applied and the decoration well protected.
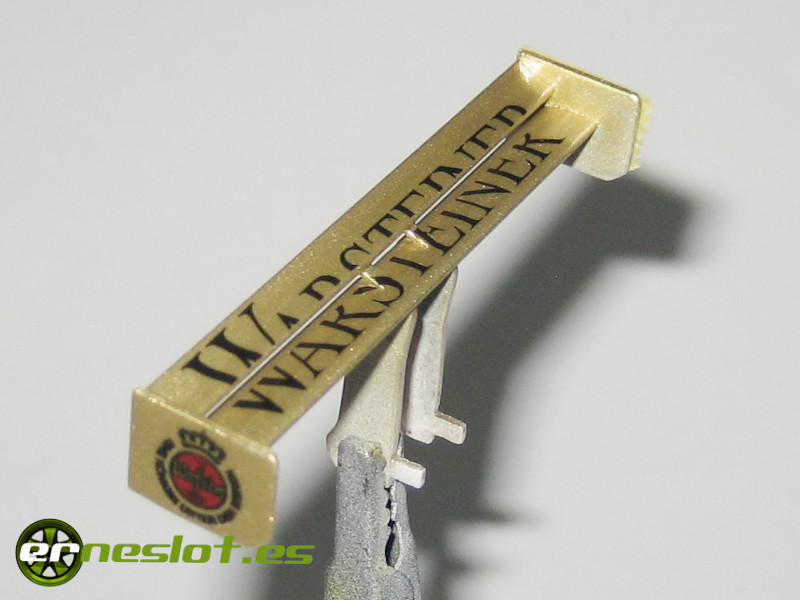
After waiting for the convenient drying time of the varnish (you know, at least 72 hours) I masked the parts that I did not want to be covered by the paint and applied a coat of Humbrol matte black enamel (reference 33). So when I removed the masking tape the wing was left with the gold parts with a gloss finish and the black parts with a matt finish.
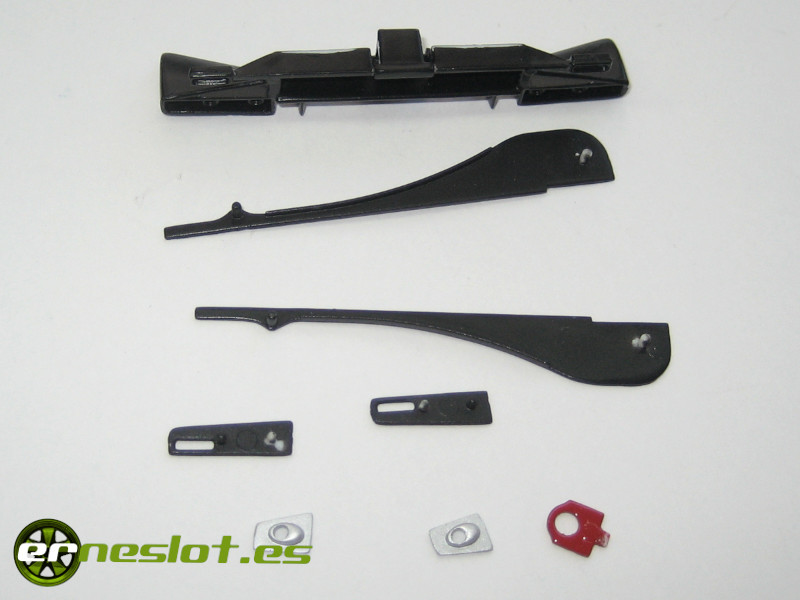
I also wanted to test colors and tones with the rest of the bodywork pieces. The lower part of the sides and the rear part of the car that simulates the diffuser (composed of several parts) are separate pieces, which I painted in matt black (Tamiya XF-1 acrylic) applied with the airbrush, and to give it a different finish, I applied a coat of Citadel Satin Spray Varnish, leaving them in a very nice shade that contrasted with the shine of the rest of the bodywork. The parts that simulate the side exhausts were painted with metallic gray enamel (Humbrol reference 11), and the mirrors the same red color (Tamiya X-7 acrylic) as the nose of the car.
To finish the body, I only had to paint the interior, which I did with Humbrol's matte black 33 enamel and I attached the original driver of the kit painted with different shades of Vallejo Model Color acrylic colors to which I changed the helmet for one of a SCX car that I had decorated in previous tests, because I liked more the shape of the SCX helmet better than the original kit. It may be silly but I am very fussy about slot car drivers' helmets, and if I don't like the helmet, the reproduction of the car loses value for me.
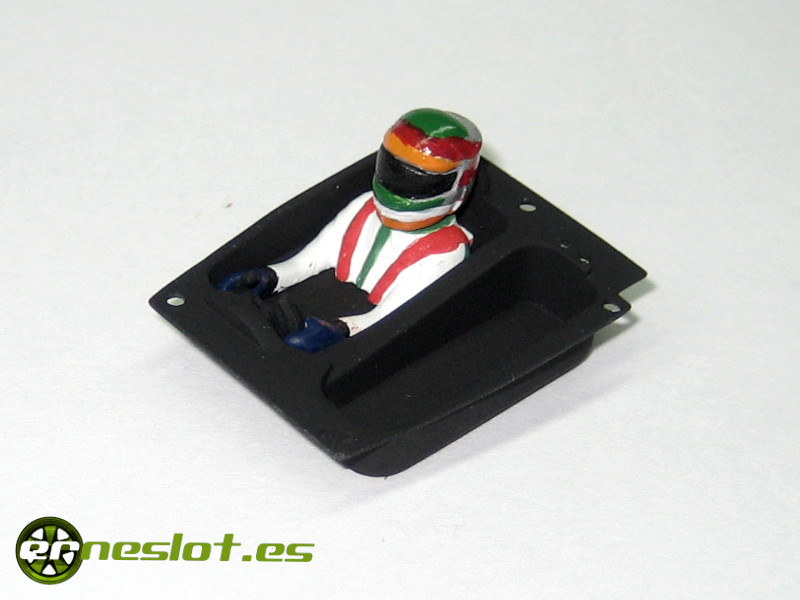
With all the parts painted and before mounting the rest of the body parts, I painted the interior of the body in flat black 70.950 from Vallejo Model Color. It is something that I have been doing in my last works to simulate the color of the bare carbon fiber of the interiors of the bodyshell as in the races cars. I applied the color with a flat brush in two coats and it leaves a good result. Vallejo colors applied with a brush are very good, very homogeneous and in this specific case, with a very nice matt tone.
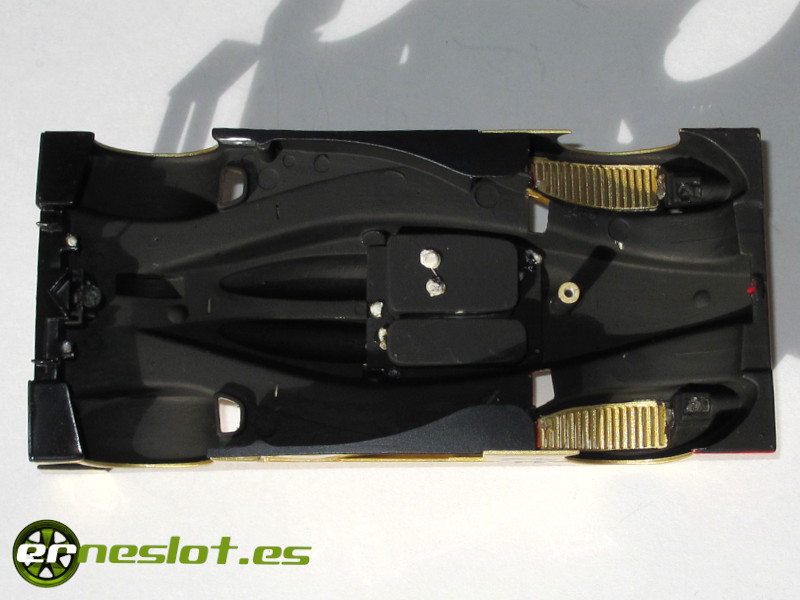
For the assembly of the bodywork parts, whenever I can, I use the electric soldering iron to join the parts whenever possible (headlights, lampshades, interior ...) and leaving the glue (cyanoacrylate) for specific places.
Regarding the mechanics, I only used components from Avant Slot. I saved the original chassis of the kit for future works and I used a green hard chassis reference AV20539 with aluminum motor pod reference AV20528 to make a more competitive slot car, since I want the car to run with it. Of the kit rims I only used the plastic front ones and replaced the rear rims with 16.5 mm. diameter aluminum ones with the set of racing tires reference AV20304. The wheel inserts are the original ones from the kit, painted with Humbrol satin black enamel (reference 85). At first I painted them with Humbrol reference 16 gold enamel but it was a different shade of gold than the bodywork and I didn't like the impression the two shades of gold gave together. The satin black color definitely matches the body color better. The original kit did not include an engine so I fitted it with the 25,000 rpm Avant Slot with a 10 tooth pinion and a 26 tooth crown.
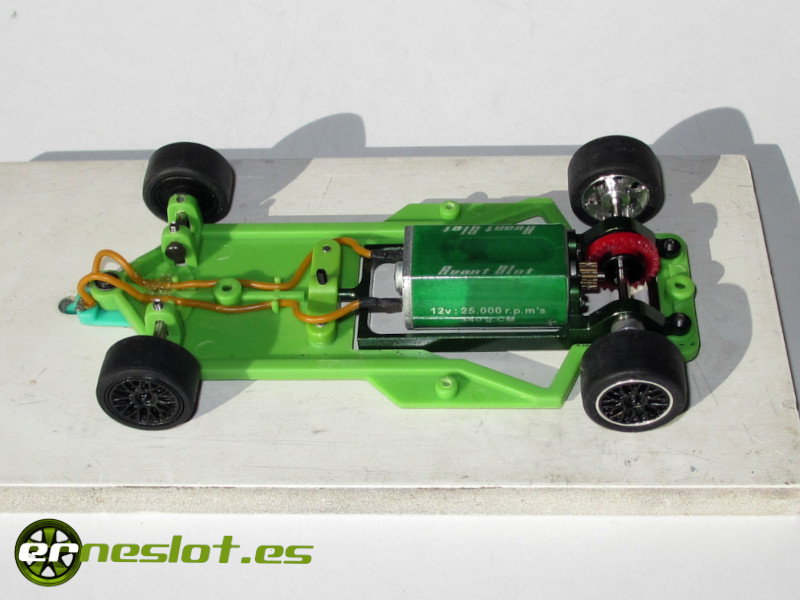
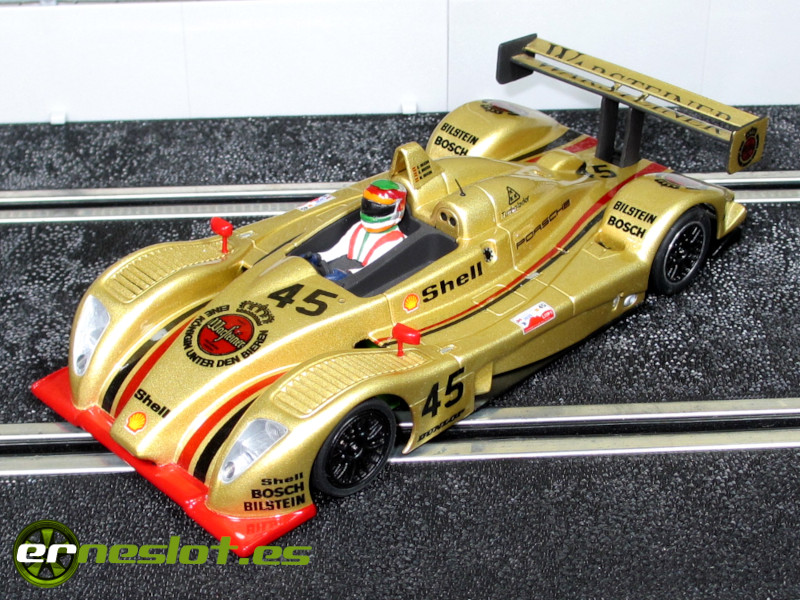
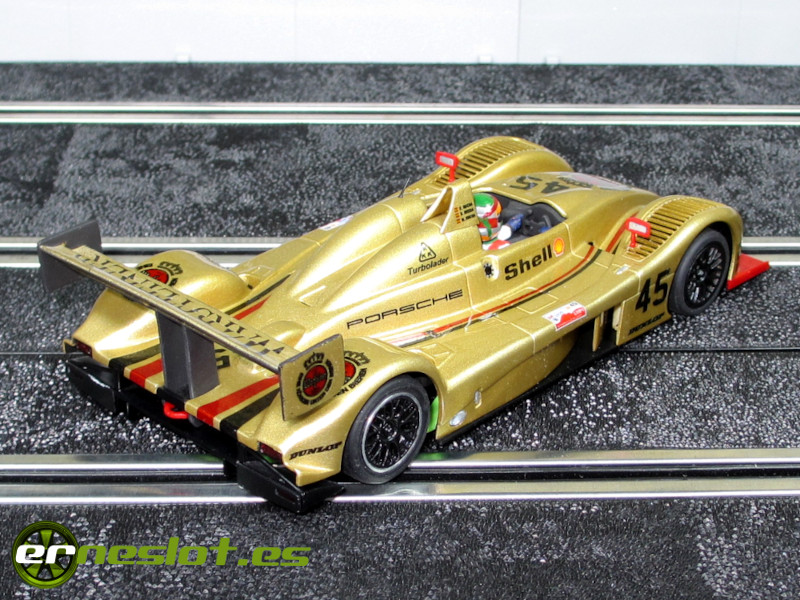
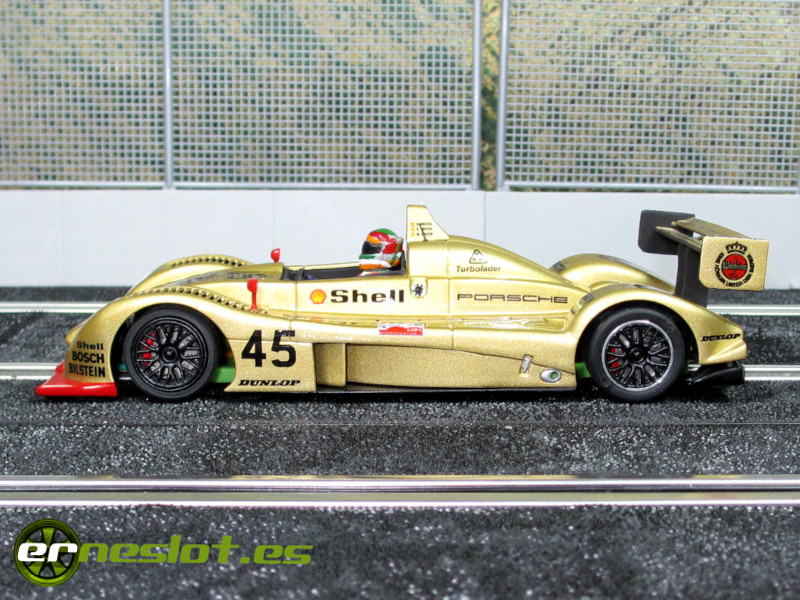
Finally, I screwed the chassis to the body, glued the mirrors and the car was like this:
What was going to be a simple and quick work has taken about two years, not because of the difficulty of the car itself but because of the doubts that arose with the decoration that made it stop for a long time. The simplicity has been maintained but the speed has not. The result is very good, apart from the specific decoration I wanted to do a neat job with a combination of bright, satin and matt tones and I have succeeded. They are small details in a fairly simple decoration but not for that reason a simple one.
Go to topFortnightly updates, new cars and more in www.erneslot.es


