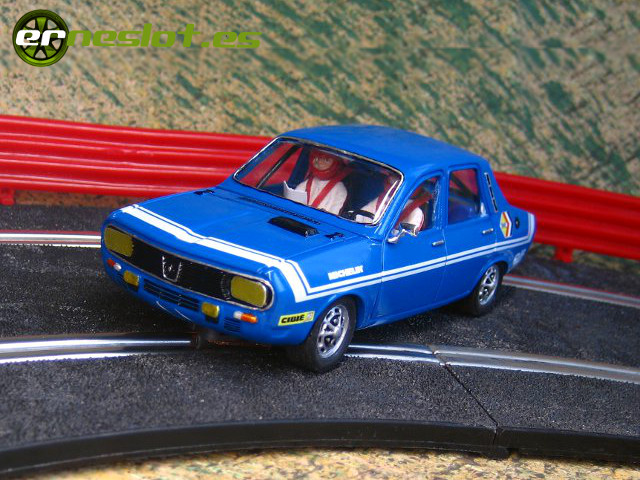
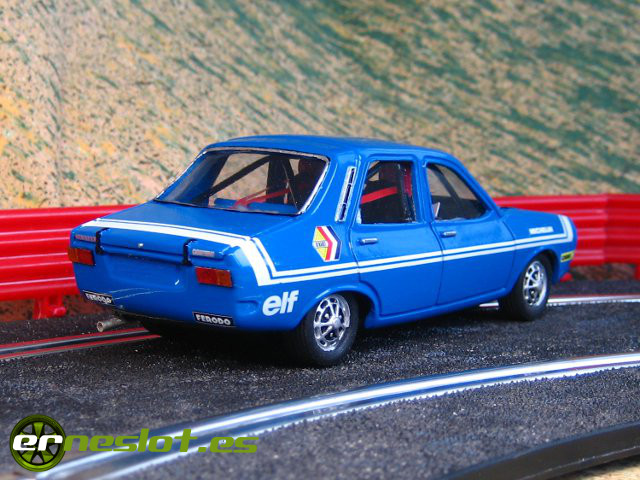
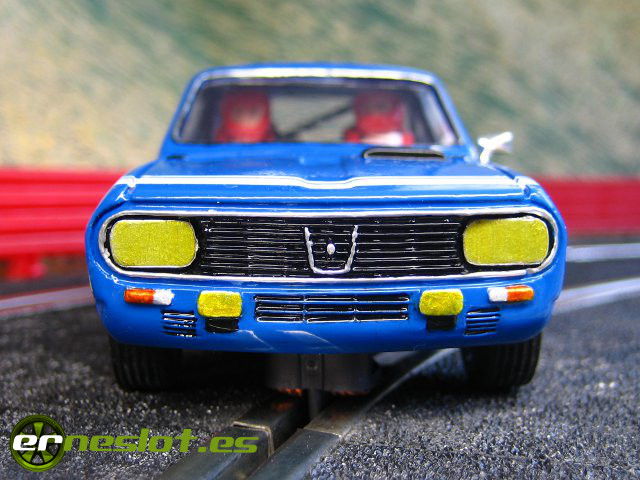
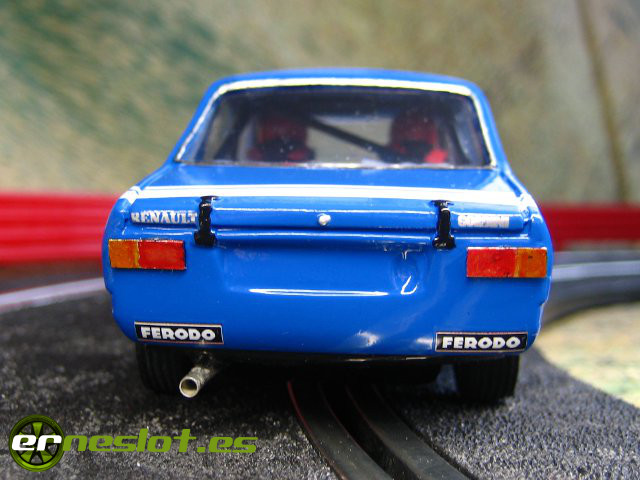
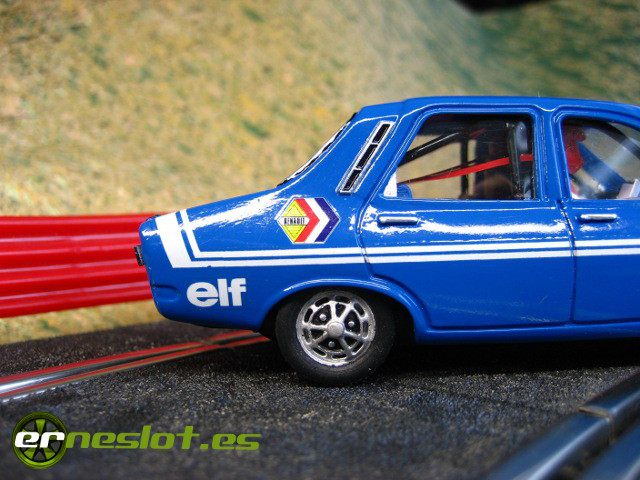
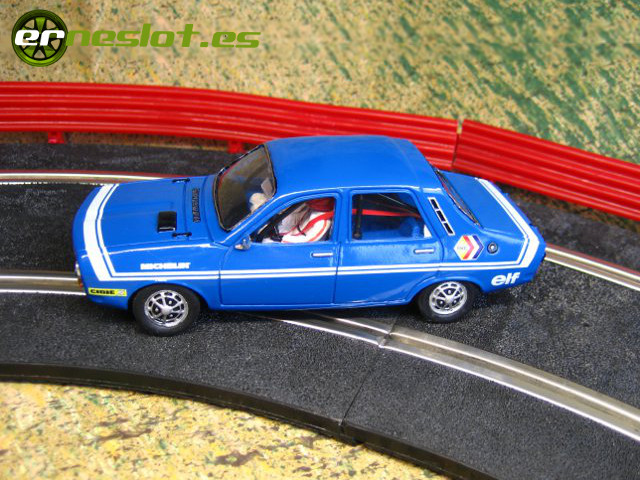
Renault 12 Gordini
In 1969 the Renault range of cars was composed of both models with rear engine and wheel drive, R-8 and R-10, and models of front engine and wheel drive as the R-4, R-6 and R-16. The tendency of the manufacturer of replacing models "all behind" by others "all in front" was followed by the model who replaced the R-10 (model introduced in 1964 resulting from the R-8 engined with 1100 cc) and began to develop in the project called 117.
The work over the 117 project started in 1965 and after 5 years concluded in 1969 with the presentation of the model R-12 during the Paris Motor Show. This model was born with a vocation of being an economic, convenient, reliable and unsophisticated in an attempt by Renault to manufacture a model what is now known as "global" because it was manufactured in France, Spain, Argentina, Colombia, Turkey and Romania among other countries. In fact, with some modifications and under the name of DACIA the manufacture in Romania was followed until 2006.
The fact of being a model with intent to sell everywhere in the world set the simplicity of their technical characteristics, such as the scheme of the rear suspension with a rigid axle, where prevail the simplicity and robustness. While that technically simplicity contrasted with a revolutionary design, for that time, of its self-supporting monocoque body type, four-door model in the presentation, which in 1970 was added a 5-door body.
Regarding the mechanics, the first versions that came out, T and TL, fitted an engine derived from those who were assembled in Renault 8 and 10 with the capacity increased to 1269 cc. delivering 54 hp. longitudinal front positioned.
In 1970, apart from the 5-door model, was presented the more powerful version of the Renault 12, the Gordini model. On the basis of R-12 was fitted a 1565 cc engine of the Renault 16 TS who along with two 45 DCOE Weber dual body carburetors and some changes in the air intake, the exhaust valves and connecting rods produced 125 hp. The engine was coupled to a 5 gear manual gearbox and a reinforced clutch that allowed the car to reach the speed of 185 km/h. The intention of the manufacturer with this model was to approve de car for both circuit and rally racing of the time and that´s why that, apart from a more powerful and reinforced motor/gearbox set, the car was accompanied by the roll cage installed, lightened seats mounted on a tubular structure and a fuel tank with capacity for 89 liters.
The car was originally sold in blue with white stripes on the sides coming up the front bonnet and rear, in the following photo taken from the web "gorde.org" you can see a model with the original decoration
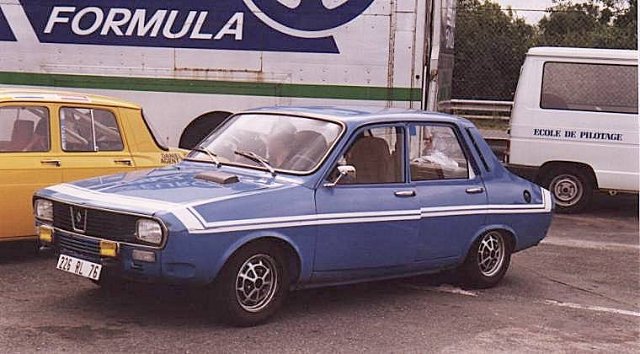
And here is another one taken from the web "renault12gordini.com"
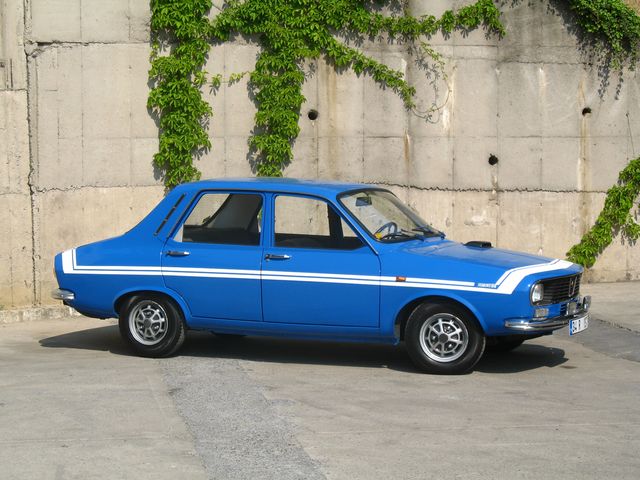
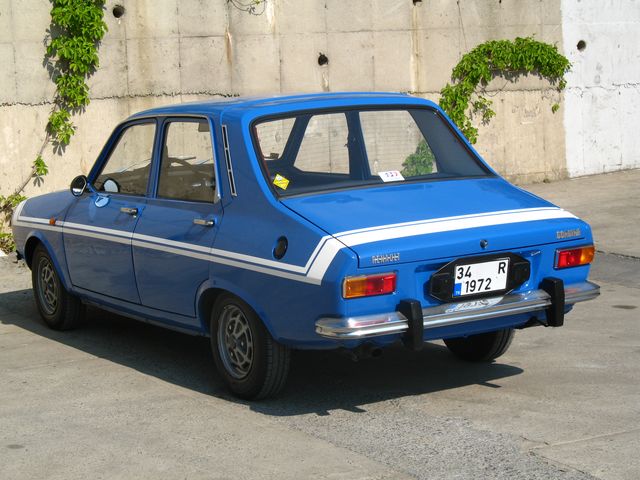
Either of the two pages are very interesting to find out more information about the car, but the former is highly recommended by the amount of artwork about the model that contains.
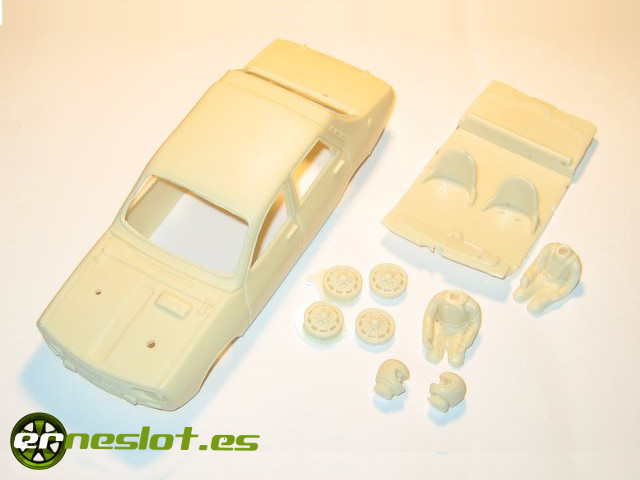
I´m going to try to reproduce the car in its original decor from the resin body that unotreintaidos has in its catalog and like the other resin bodies my friend Darío manufactures the quality is impressive, although in mine in particular has a small lack of material on the hood as could be seen in the following photo:
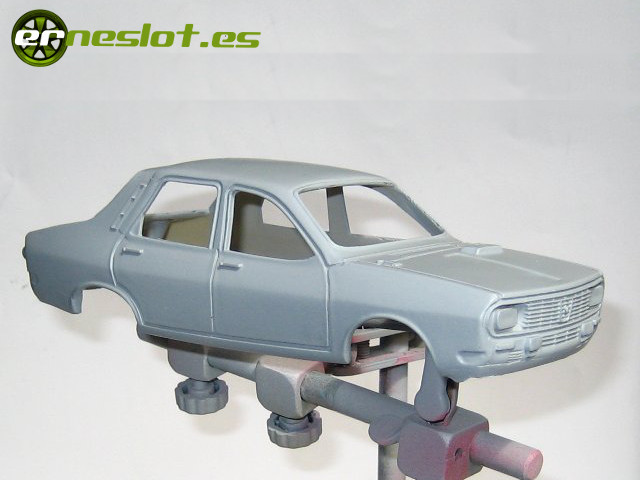
The preparations previous to the decoration of the body are explained in the "Preparing a bodywork to decorate" section and after them the body looked like this:
The chosen chassis to mechanize the car is a Ninco one elongated, and their adaptation is explained in the "Adaptation of a chassis" section.
Reproduction in resin as said above is very good, very well scaled, almost 1/32 scale but has some details that I don´t like and I will change. One of these are the headlights, which are rather small compared to the original model:
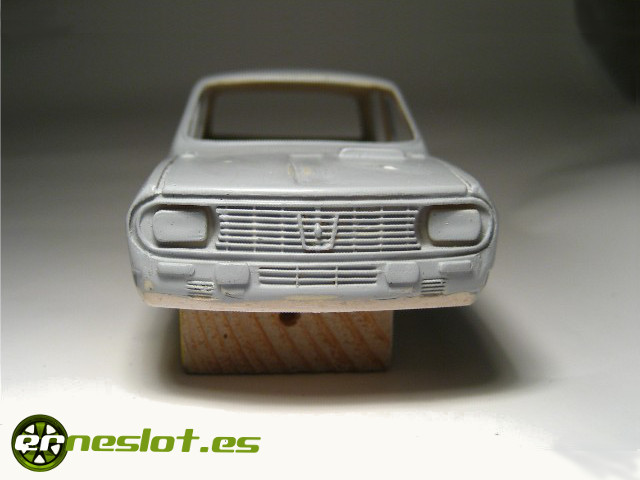
Using the mini drill engraving accessory, carefully remove the headlights and with 1 m/m thick evergreen plastic I model a new headlights something bigger:
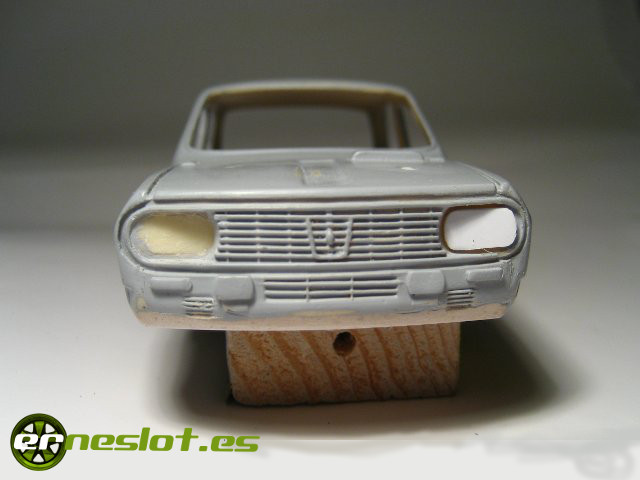
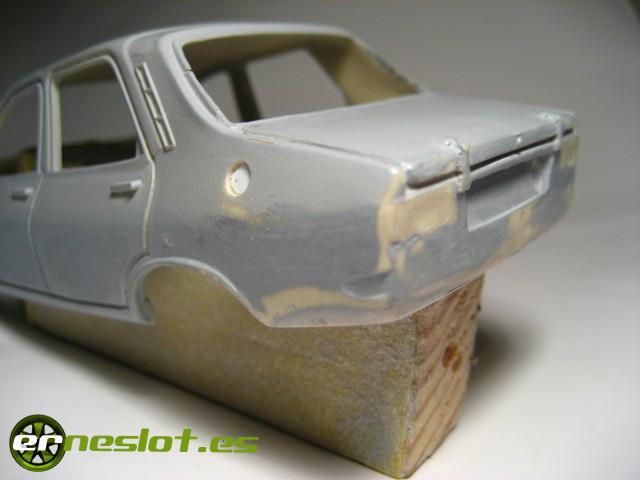
The other detail that I don´t like is that the taillights size were fine but were a little prominent, so took them off and then will placed two pieces of thin plastic to simulate them. Also take to change the gas cap, which I´ll make a separate piece from the rest of the body. In the place where it was placed I made a 3 mm. diameter drill and glued a piece of plastic.
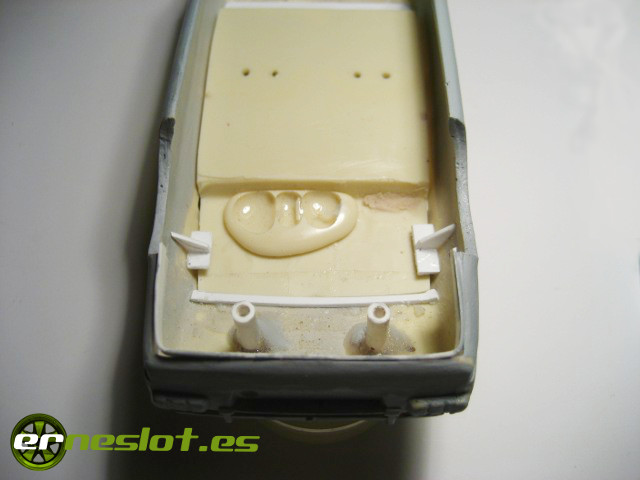
To attach the interior of the model, I put two brackets on the back of the body:
The wheels of the model deserves special mention. The original car fitted 13-inch wheels, which at 1/32 scale are about 10 mm. The resin inserts that came with the kit are slightly larger, about 11 mm., but fit so well proportionate compared to the body.
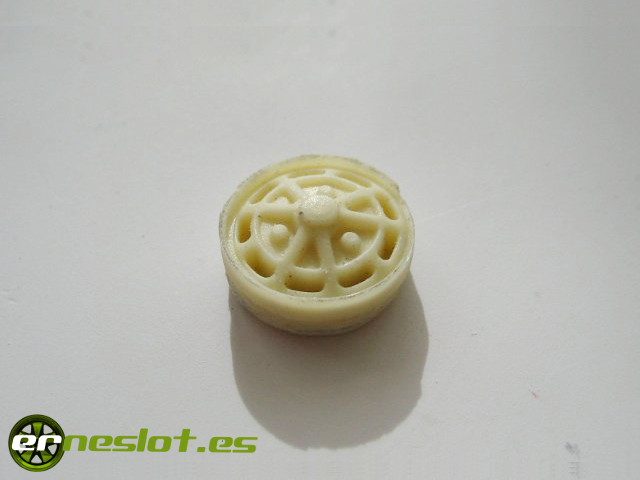
But if placed the inserts within a wheel rim, the wheels would be too large in proportion to the body, as if the car tire mounted approximately was 16 inches diameter. Luckily, I had some Superslot wheels from an older model that fit reasonably well to the 11 mm. I was looking for:
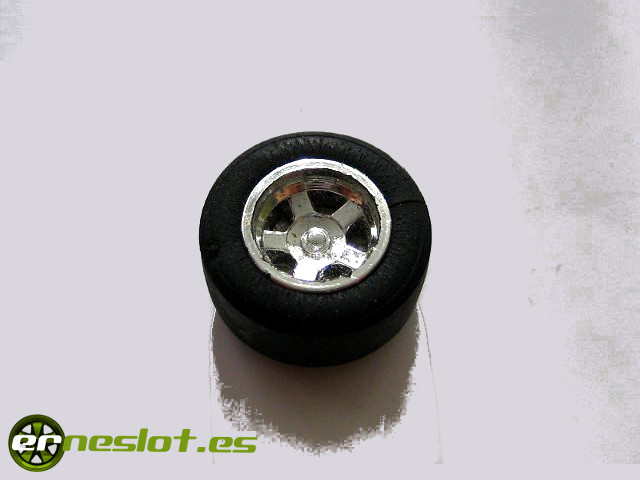
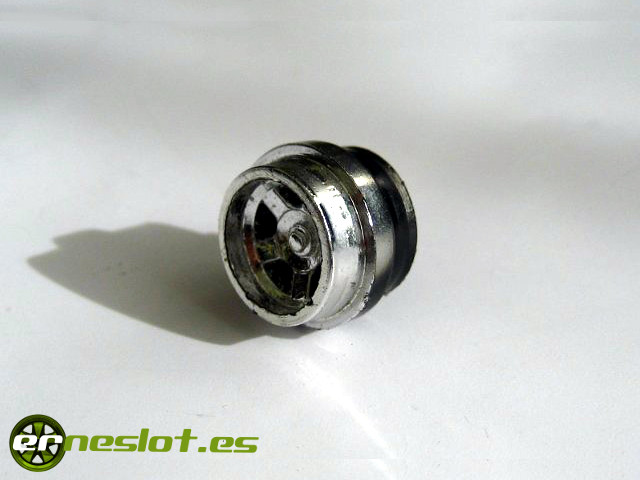
Carefully cut and sand the front of the rim
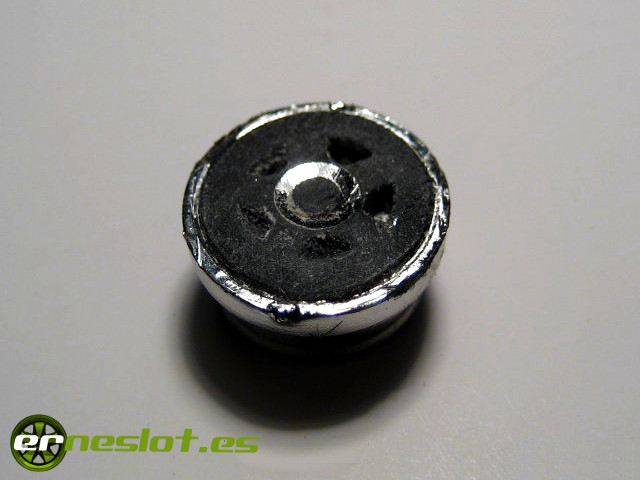
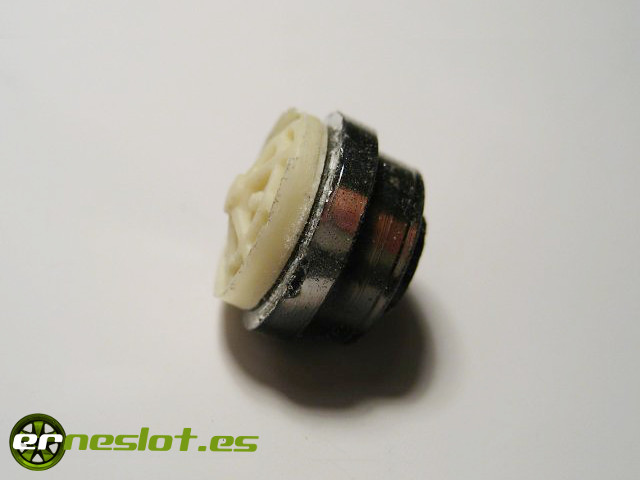
I did the same to the back of the resin insert to lower its height.
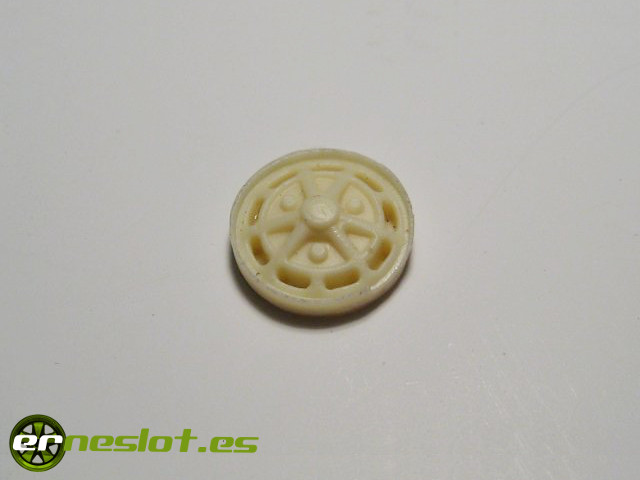
To center it well I mounted the tire on the rim:
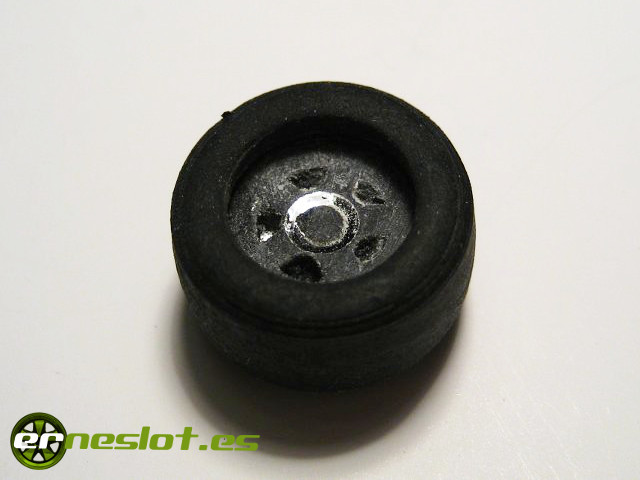
... and with superglue and care glued the lowered insert to the rim:
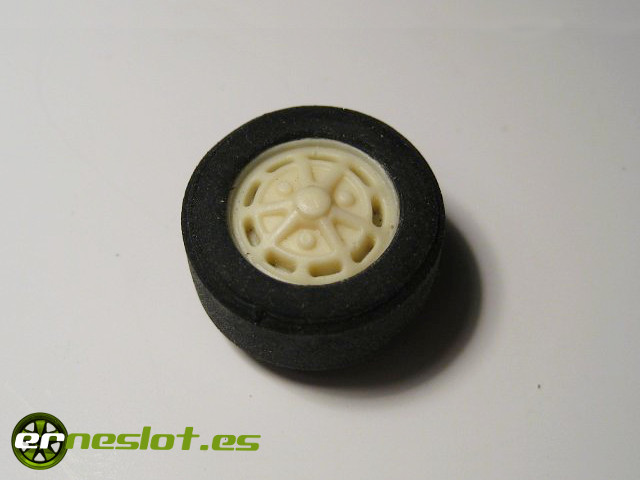
The result, a rims size almost perfect for the R12 I olny need to paint:
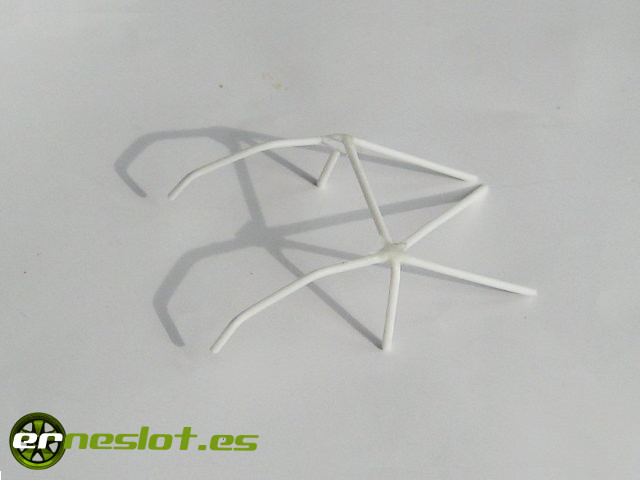
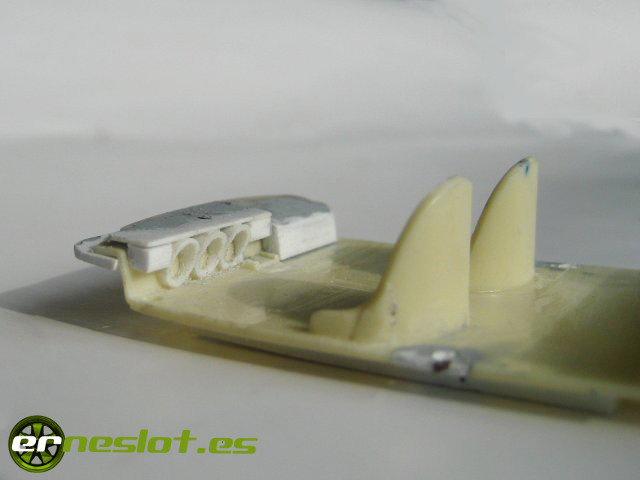
The kit interior is simple but more than enough, I will only improve in a couple of things, improve the dashboard and make a roll cage with evergreen rods. The roll cage has no more mystery than that seen in the next photo, rods glued with bicomponent glue, so that the position does not change when pasting a few holes in the drivers tray will be enough:
And the dashboard change overnight simply by placing the three clocks that had the original car. Cut three pieces of 4 mm in diameter evergreen rod and glued in place, a strip of evergreen on top to cover them and a little bit of Tamiya putty and sandpaper to finish. A picture is worth a thousand words:
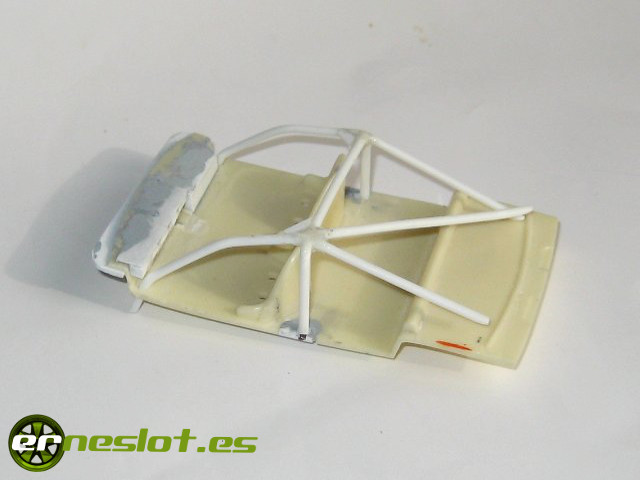
Thus the interior has much more life.
With the body almost finished, I had to find the right color to paint it. First I tried with the French blue X-4 Tamiya reference, but despite being very nice it was too dark, then with the sky blue (reference X-14) and was reversed, was too clear, so I made a mixture between the two colors, both acrylics, and the resulting tone was much more appropriate:
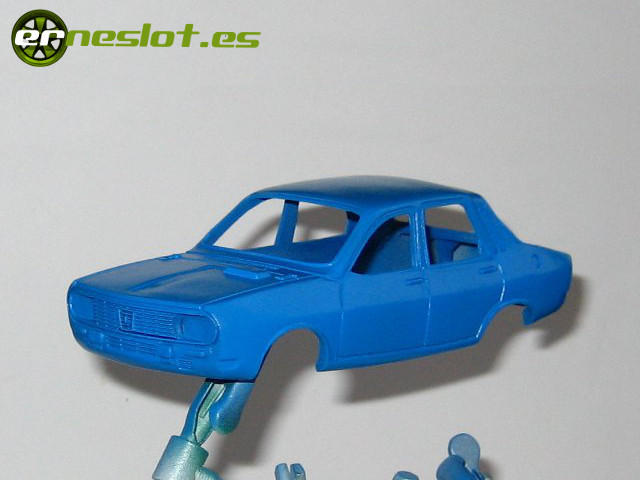
During the drying time of successive paint coats on the bodywork, three in total, I took to finish decorating the rest of the kit components, such as rims...
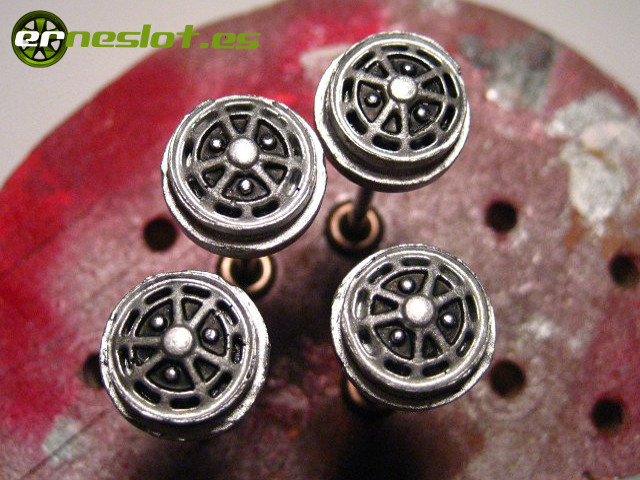
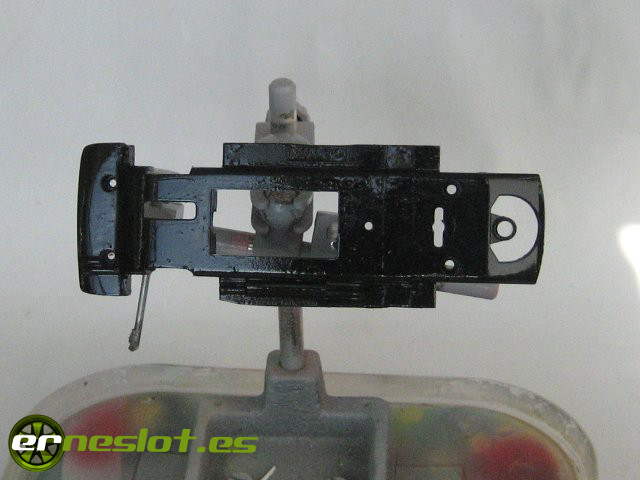
...the chassis,...
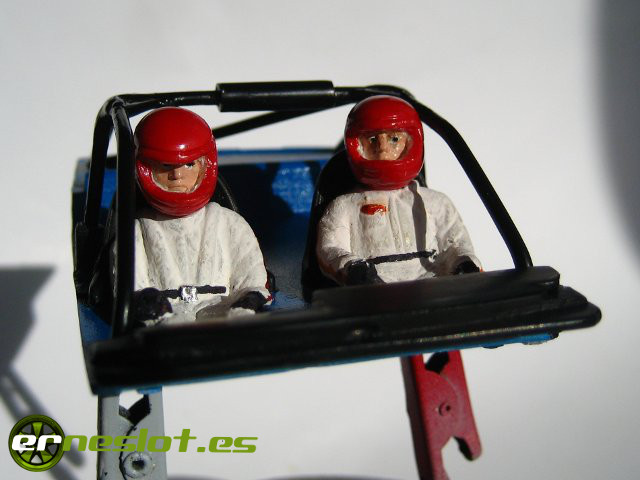
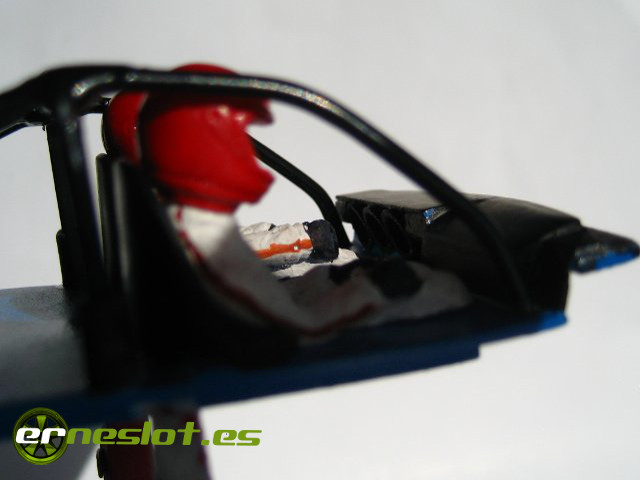
...or the interior:
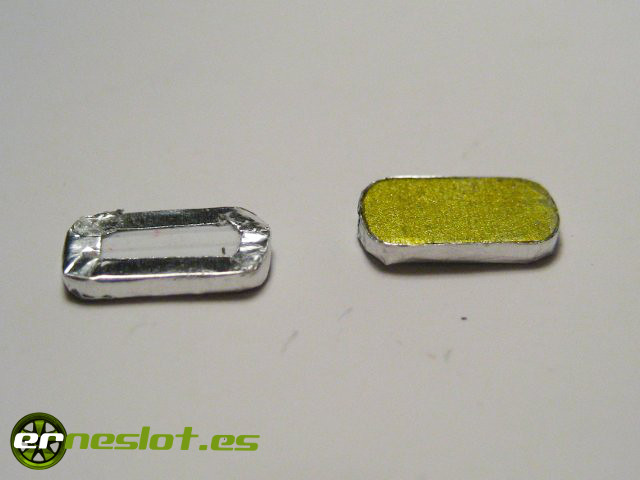
As commented above, the headlights were cutted from a piece of evergreen 1 mm. thick. A first coat of silver enamel and after drying a coat of yellow colour with a permanent marker gave them a good look. To simulate the metallic fringe around them, hit a strip of aluminum tape around:
Regarding the decoration, Darío from Unotreintaidos provided me the waterslide decals, they are in the catalog of artecnodecals and are of excellent quality, very fine and very well defined. It was very easy to put them except the white lines that took a bit more care to place them well positioned, but thanks to the good quality of the decals no major problems. This was the car with the decals put and a coat of "Bosque Verde" varnish to protect them.
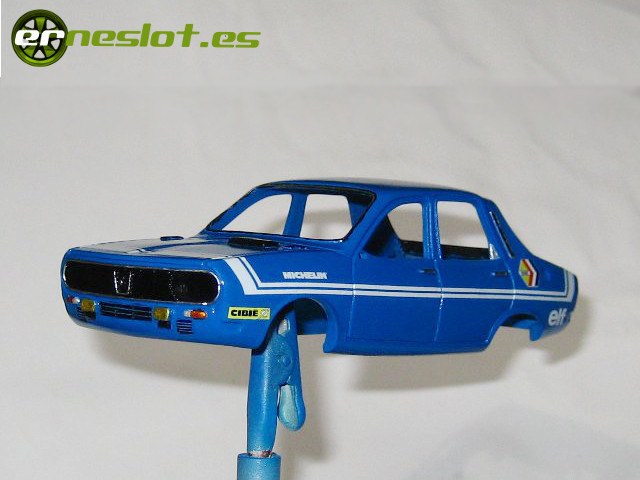
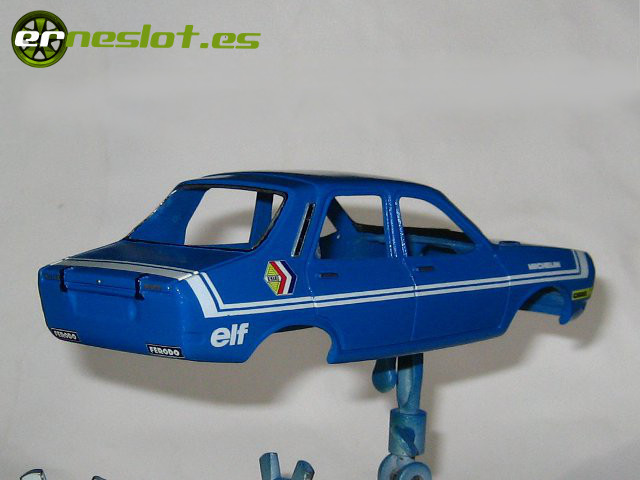
The decor does not belong to any specific car but could have done perfectly.
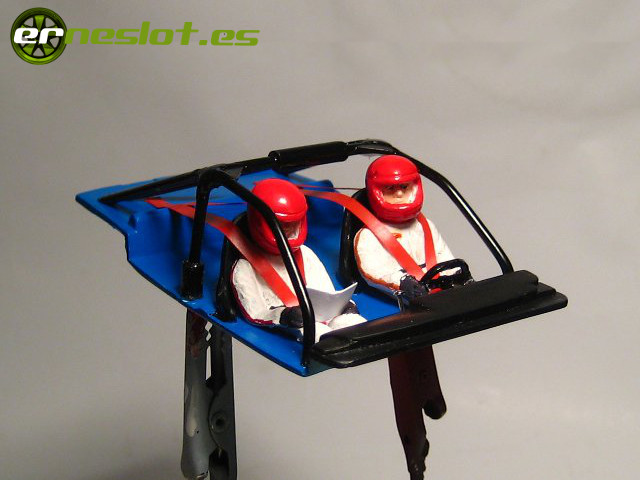
The interior received minor touches before take it for finished, shift lever made of a pin, the book's co-driver, and safety belts made with strips of red tape.
The varnishing process lasted several days. First I applied two coats of "Bosque Verde" varnish letting one day drying between coats to protect the decals, then two coats of acrylic varnish Vallejo spray, the first soft and the second more charged also with one day of drying between both. Let the body dry well and proceeded to mount the car. The front and rear glass was prepared at the starting of the work, before painting the car, so I only had to paste them carefully, and side glass were cuted from a acetate sheet at the time of pasting. For all of them used high transparency bicomponent glue. I used the same glue to stick the front light and rear while the interior is simply stuck with a few drops of superglue. The mirror's was taken from a Fly Porsche 911 I had saved and for the exhaust pipe the always useful electrical terminals.
Once mounted in its place the result is this:
I don´t know what do you think, but I´m delighted with the result, but of course, with such ingredients is difficult not to make a good dish...
| Chassis | AC Cobra Ninco, adaptado |
| Wheelbase | 81 mm. |
| Dimensions (L x W x H) | 137 x 51 x 45 mm. |
| Weight | 87 gr. |
| Engine | Ninco NC5 |
| Front tires | Seat 600 Reprotec |
| Rear tires | Seat 600 Reprotec |
Fortnightly updates, new cars and more in www.erneslot.es


