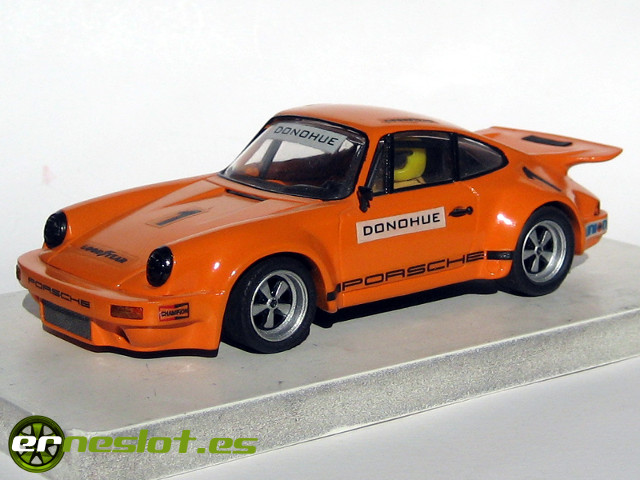
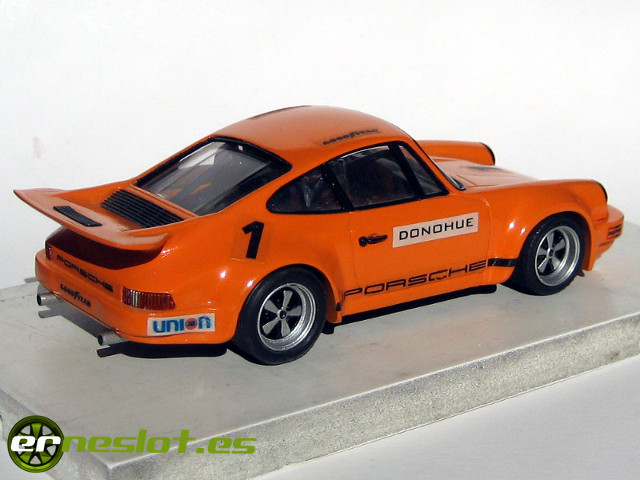
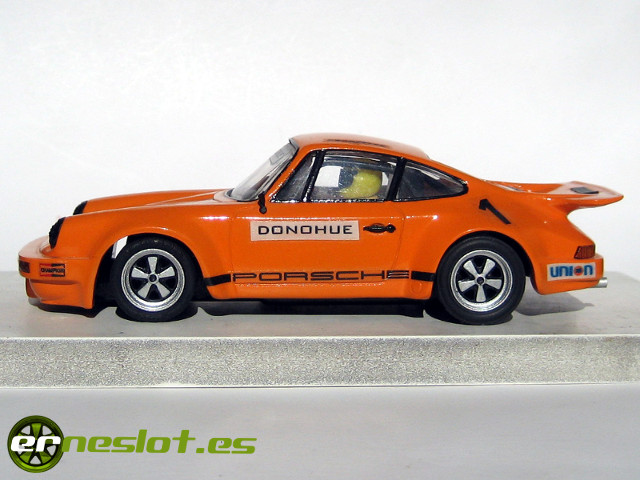
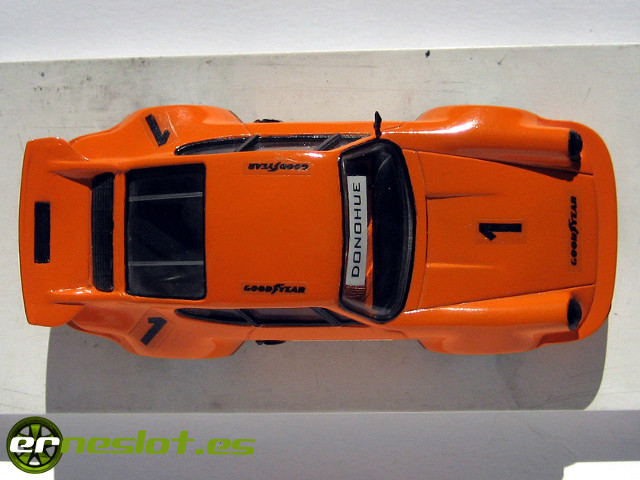
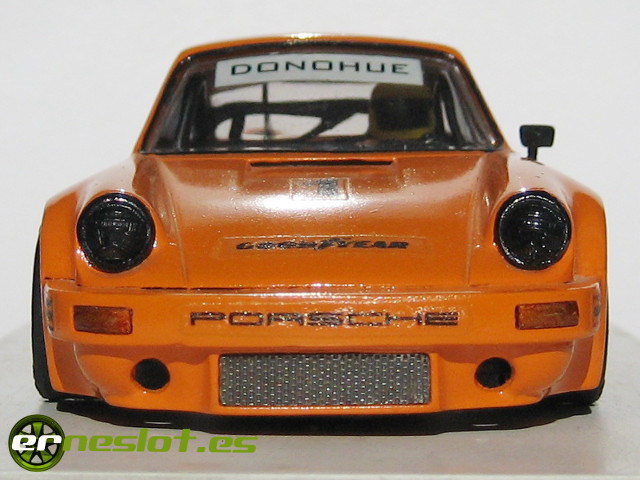
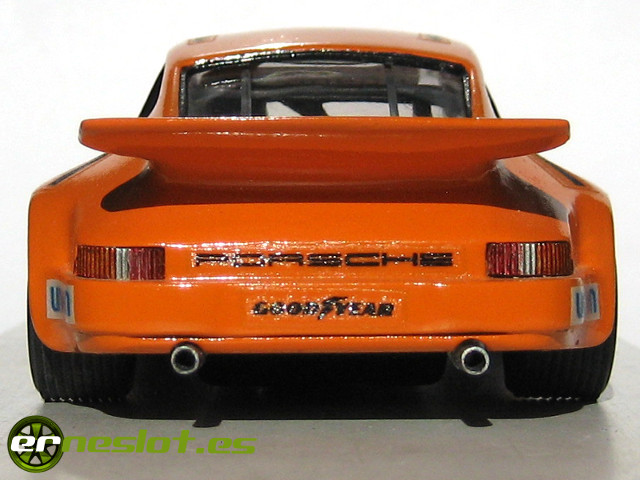
Porsche 911 RS 3.0 IROC
In late 1973, the team of Roger Penske asked Porsche the manufacture of 15 units of the 911 RS model, cars with the same preparation, a 2993 cc engine with an approximate power of 320 hp at 8000 rpm. and that they differed among themselves only by color while the other features remain the same.
Of the units that were manufactured, 12 were used by pilots to compete and the remaining 3 were used for testing and backup. The IROC (International Race Of Champions) was a competition between the best drivers of the time (something like the Race of Champions -ROC- actually disputed) from Formula 1, USAC, NASCAR, and SCCA and consisted of 4 races at USA circuits, like Riverside and Daytona. As a curiosity, to say that Porsche cars raced in this championship for the first year only, as in later, and due to high maintenance costs of the 911 RS opted to use the Chevrolet Camaro.
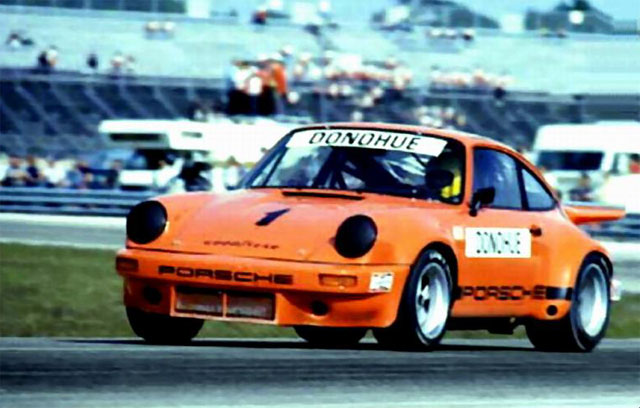
The car I'm going to show in this step by step is the chassis number 911 460 0090 with engine 684 0031 Mark Donohue raced during 1974 and with which he managed to be the IROC champion that year, winning three of the four races which consisted the championship. The decision to build this model and no other has been simply by color. This is a picture of the car running at Daytona in 1974.
another photo of the same car:
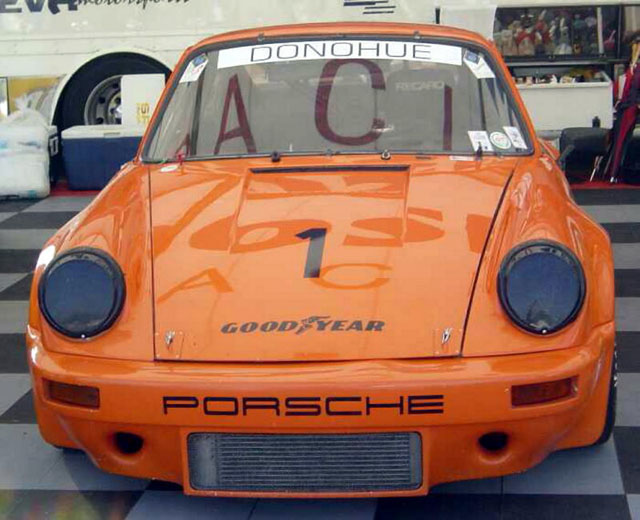
and here again the same model but in green, that sincerely suits fine to the car:
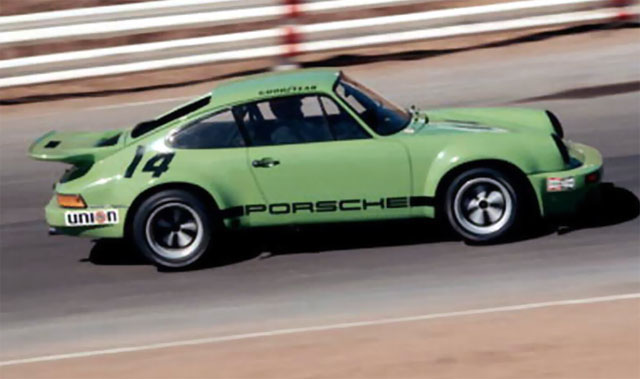
If you want to see more photos of these cars and another 911 RS - RSR here I leave a highly recommended address, which is where I have extracted the last photos: www.pbase.com/slidevalve911rsr/root
Do not miss the historical photo section because it has no waste...
The reason to build this car is that I wanted to make a simple project, tired of long-term complex projects, although as time went by, the project become a bit more complicated than expected.
To make this car I start from a body of a Altaya SC 911. In principle, the adaptation did not seem very complicated because I suspect that the intention when people of EXIN made the mold for the 911 was to make this model specifically. In fact, the mono color EXIN models correspond to the Porsche 911 RS competing in the IROC.
To begin, I dismounted completely the body and inmersed it into alcohol. A half-hour wait and rubbing with a toothbrush left the body this way:
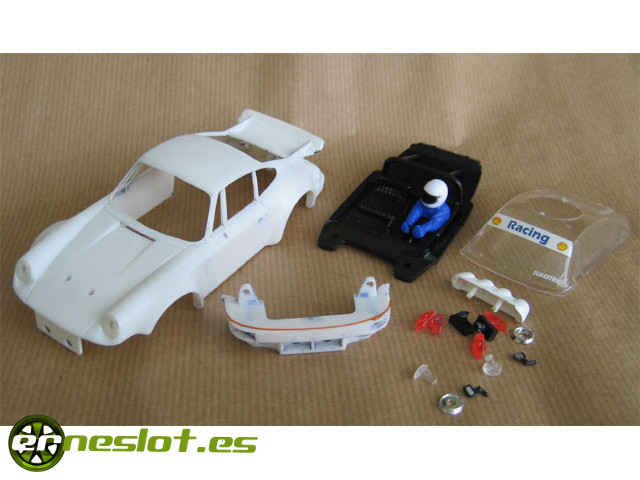
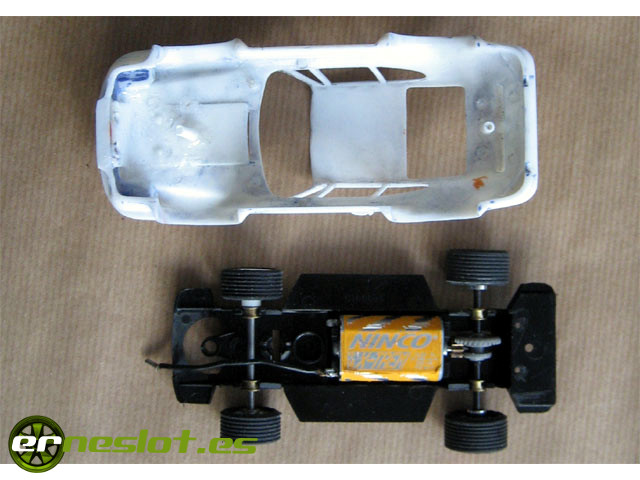
The next step was to adapt the chassis. Again I used a known and effective solution, to adapt the Ninco 911 chassis. I hit two lugs to the body with bicomponent glue and trim the chassis where appropriate to fit correctly:
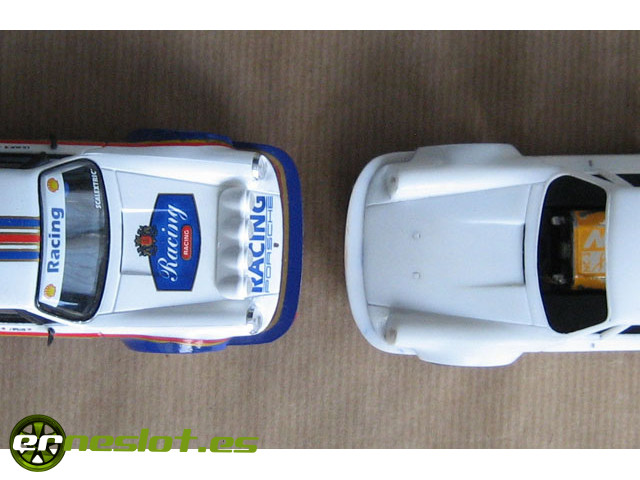
Then, I was to modify the front bumper. One of the failures of the Altaya 911 mold is a bumper that is too long and with a very square shape compared to the original model, apart from a indicators unusually large ... So I shortened it about a millimeter and gave a somewhat more rounded. In the next photo you can appreciate the changes when compared with a unmodified bodywork:
Somewhere I overdid with the file and I had to rebuild it with putty. Meanwhile, I took to give the correct shape to the door, covering the grooves with Tamiya Putty and marking them again with a sharp steel tip:
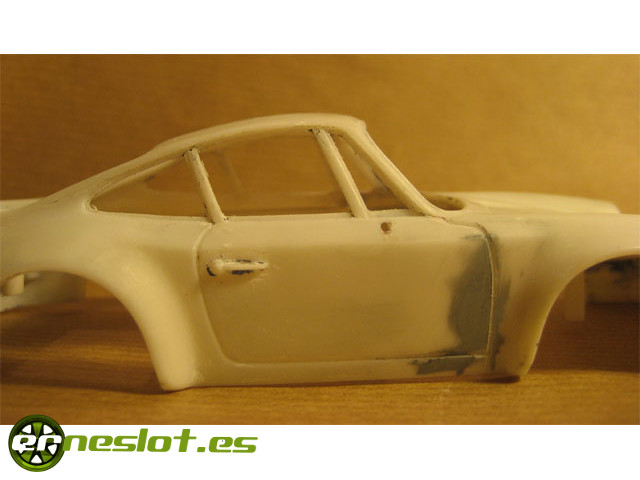
The next step was to finish the front bumper shape and widen the rear wheel arch. Widen it 1 millimeter on each side as compared with a Fly Car Model 911 is a bit tight and I took step to give them some correct shape, for it glued them a evergreen plastic strip of 0.5 mm thick protruding 1 mm. and the gap was filled with putty:
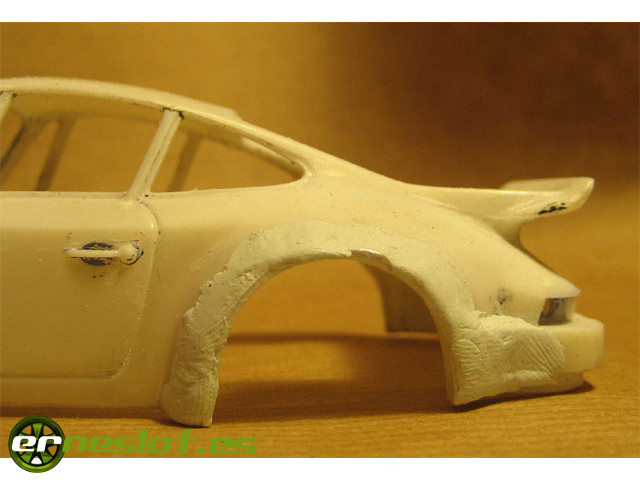
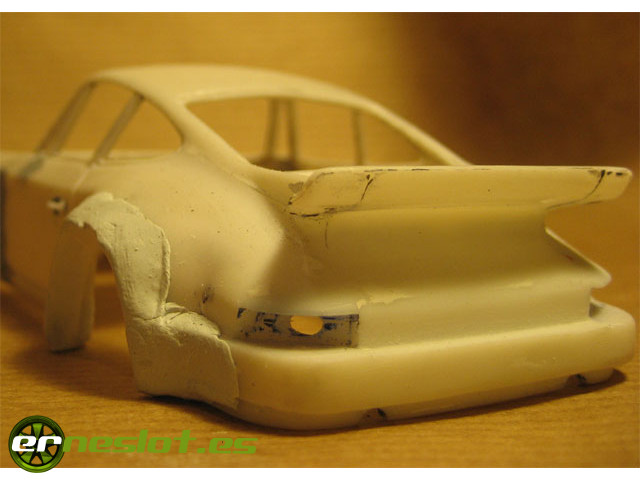
After a bit of sandpaper to shape:
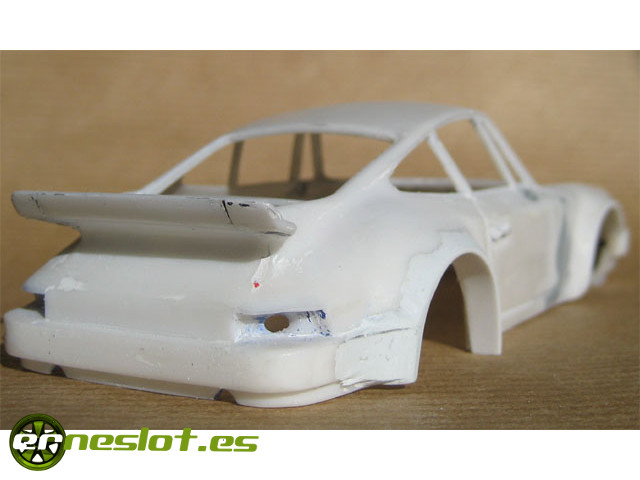
It still had a lot of work but I chose to finish the front of the car and go from front to back.
In the front part, apart from the curvature and length of the front bumper, I modified the air intake, making it one piece, and the size of indicators as in the model Altaya are far larger than in the original car.
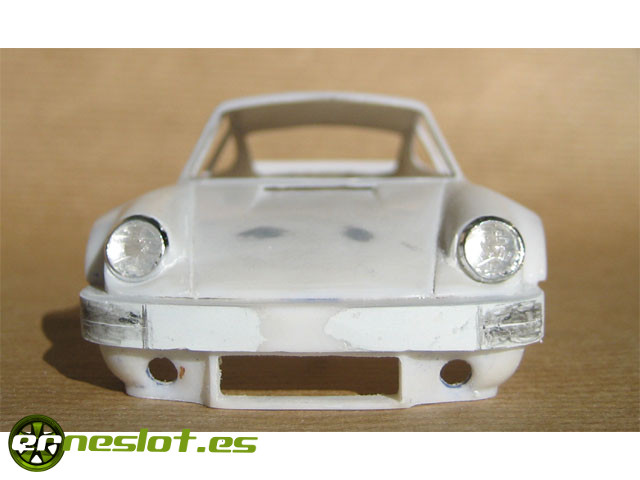
Finally, I modified the shape of the front wheel arch at its junction with the bumper, as in the original model has more curvature forward than in the Altaya model, falling straight. To this end I used two pieces of 1mm to evergreen shaped as follows:
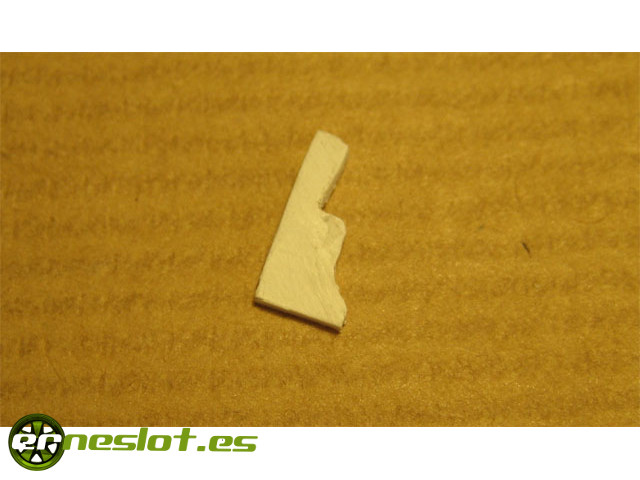
that once glued down to this:
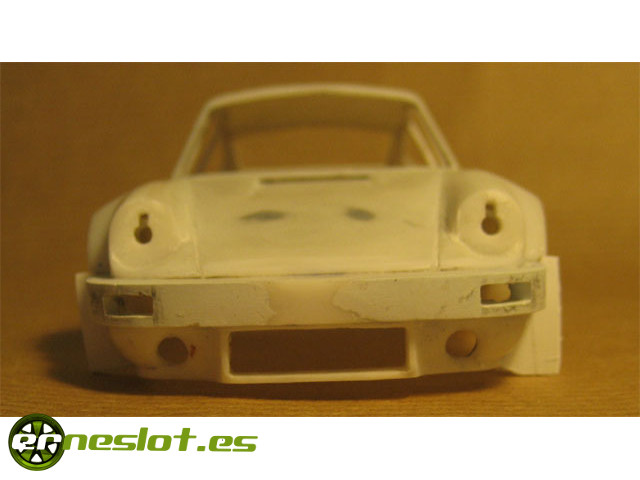
Now I only had to wait for the bicomponent glue to dry well to remove excess with sandpaper and round off the bumper. To give it the proper shape to the front bumper I glued a bit of putty on the front of the wheel arch:
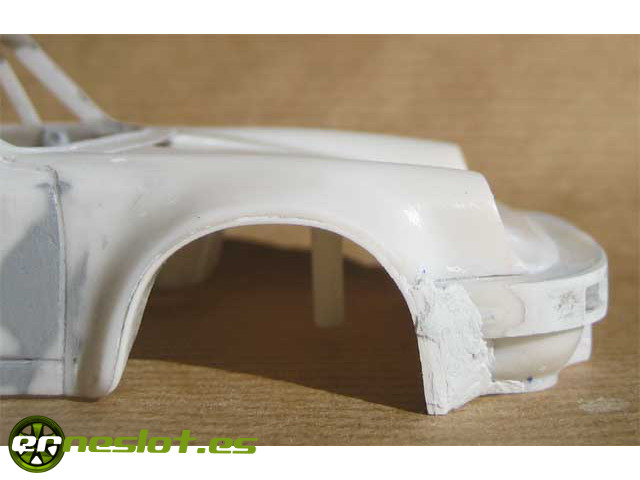
sanding later to give the appropriate shape:
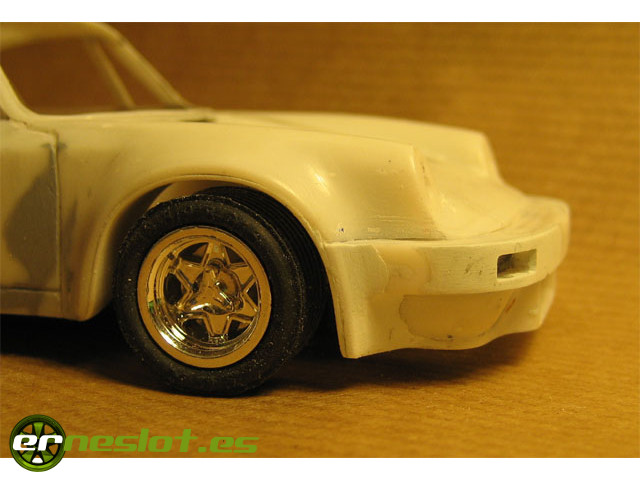
In the absence of the radiator grille, the front was finished. I went to the back, particularly with the grid engine and wing. From my point of view is one of the least successful part in the Altaya model, without grid and with a wing something short and curved upwards at its end. The first thing to do was to mark approximately where the engine grid would be embedded:
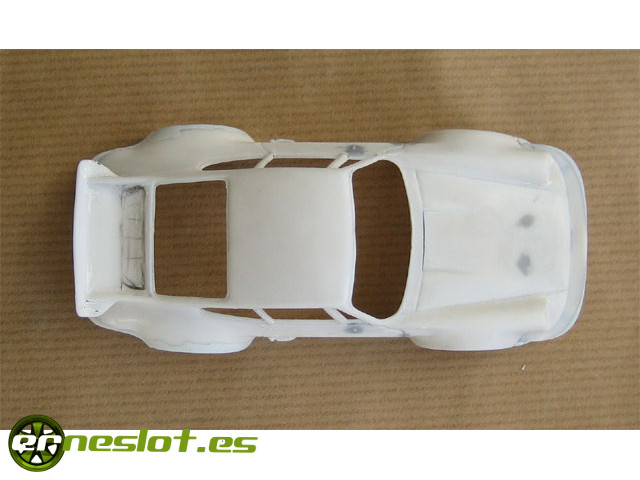
Once measures taken I proceeded to cut the spoiler and make holes in the bodywork to insert the grid, cloned in resin from a Fly Car Model Porsche 911.
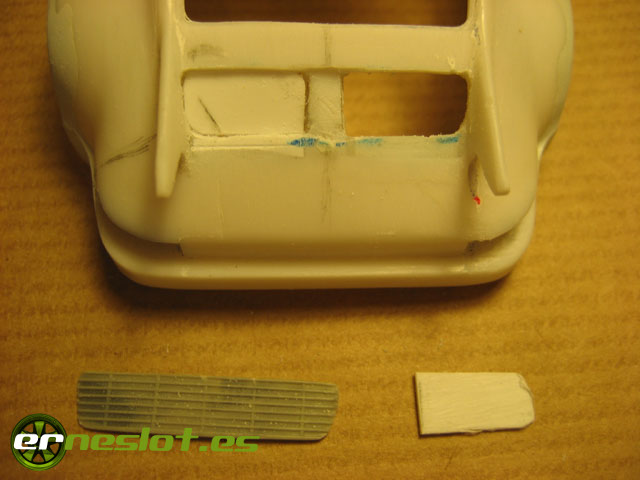
A while later, the grid was fitted into the housing.
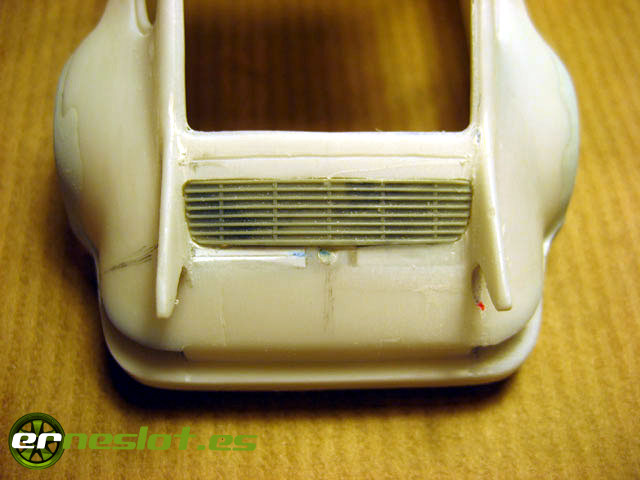
The result after placing the grid did not convince me, as it was too depressed about the bodywork. Spinning around the matter and seeing photos and more photos of the car I noticed a detail, or better, two details. Which primarily affects the grid is that the rear hood is slightly domed in the place of the grid, so the inclination is smaller than the one I left. I solve this with putty and evergreen plastic.
The other detail is that the shape of the rear wheel arches was not correct and detracted a bit the back of the car:
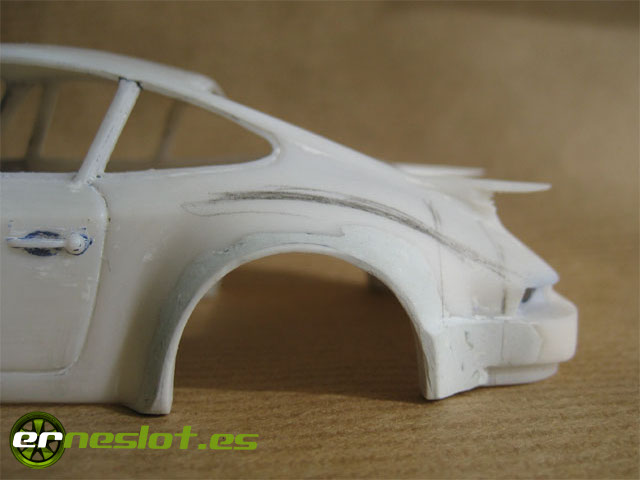
Marking a line on the top of the rear wheel arch, in the original model that line should not rise up in the center of the wheel arch, but should had a slight fall just at the apex of the body, just above the taillight. The problem was easily solved, sand until find the right shape. Here you can see the results:

As the bodywork weakens sanding, I applied some bicomponent glue inside by the same to reinforce it.
You can see how the left wheel arch is lowered while the right one is the original from the model:
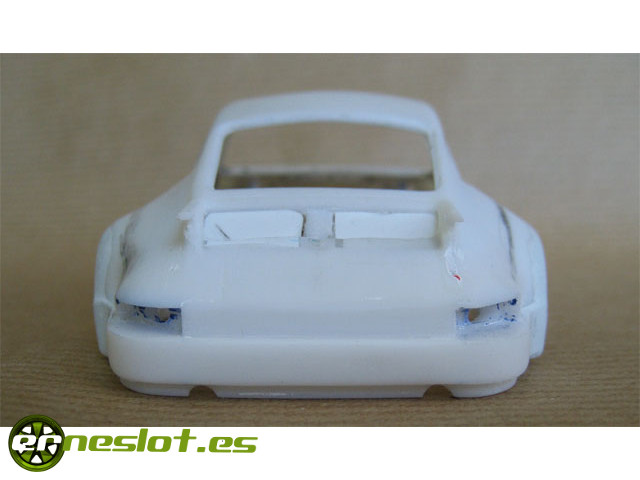
It is clear that the lowered wheel arch has a concave shape, while the other is convex, more like a wheel arch which would have a 911 RSR. In the next photo are the two wheel arches fitted:
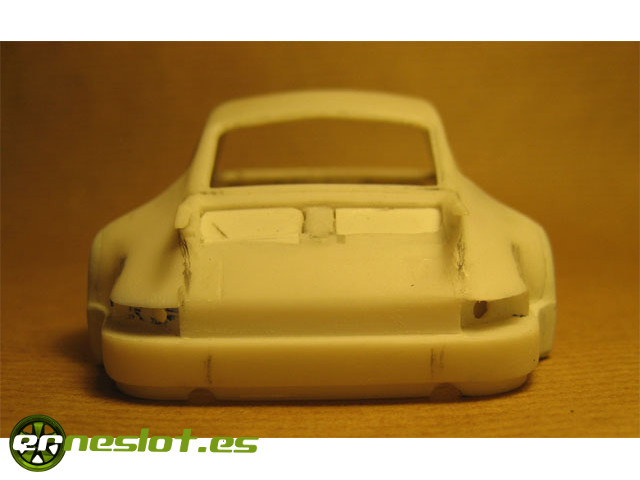
To the rear wing, first applied a little bit of putty (Nural 41) at the rear bonnet and pass the sandpaper to give it a slight bulge:
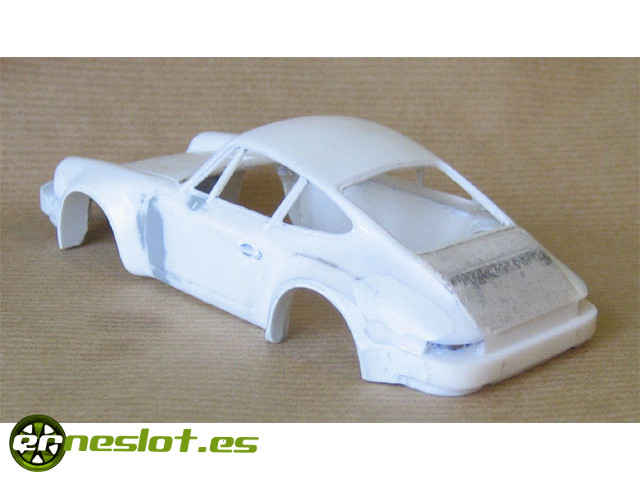
Then I built the wing with a piece of evergreen of 0.75 mm. thick.
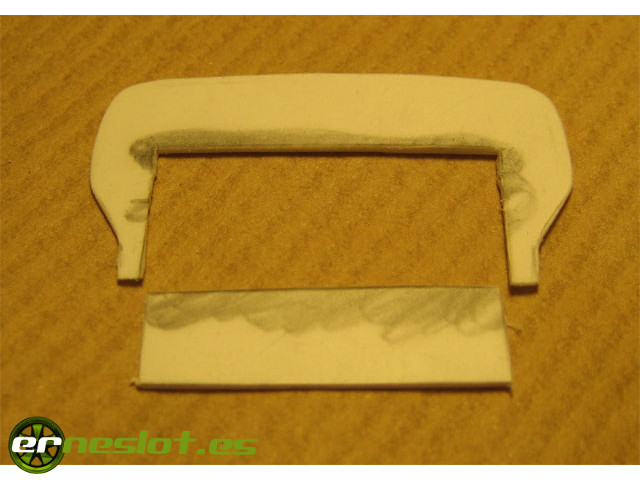
and then glued with bicomponent glue on the back of the car, which had previously made the hole for the resin made engine grid.
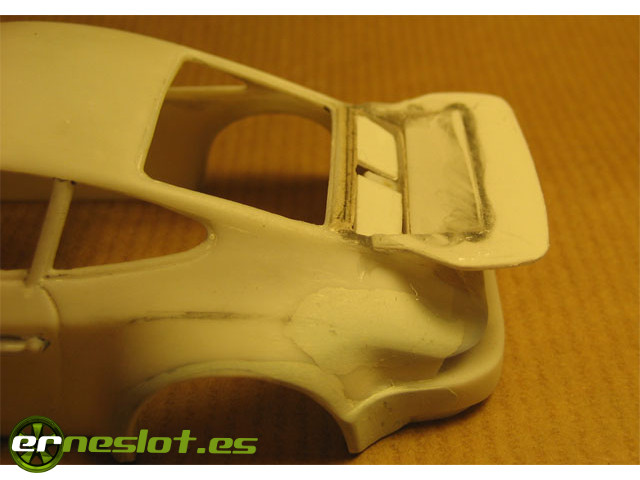
Just had to finish the wing underneath. I filled the gap left between the wing and body with putty Nural 41, and shaped it with sandpaper and lime. Also glued a few evergreen strips in the lower rear of the fenders and below the bumper that would provide me support for the putty that would have to apply.
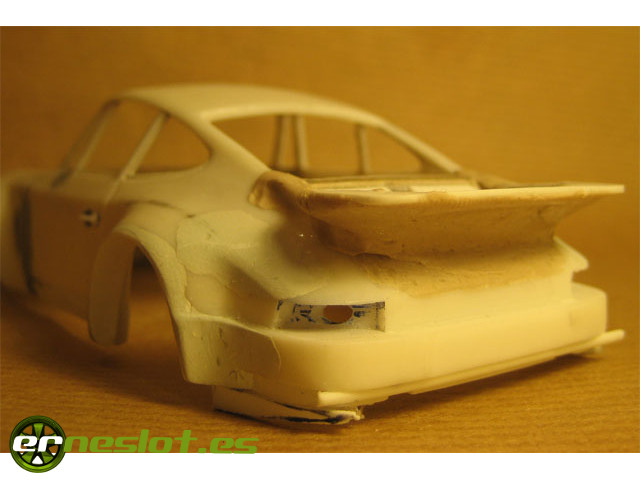
When the grid was half-finished after sanding the putty that had stuck down, I realized that something did not fit ... photos and more photos until I realized that the original car's wing was far more wide than it I was doing ... I did not want to remove the already mounted, so decided to supplement it with two pieces of evergreen stuck with bicomponent glue and putty so they were secured. I also took to do the hole in the wing where the grid is placed, which is made of resin adapted to the hole:
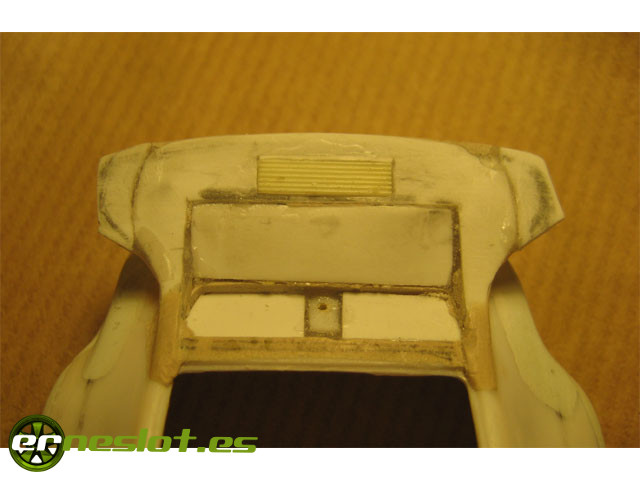
To finish the wing, I put the flange and the nerves that is evergreen plastic with a twist-shaped half-round:
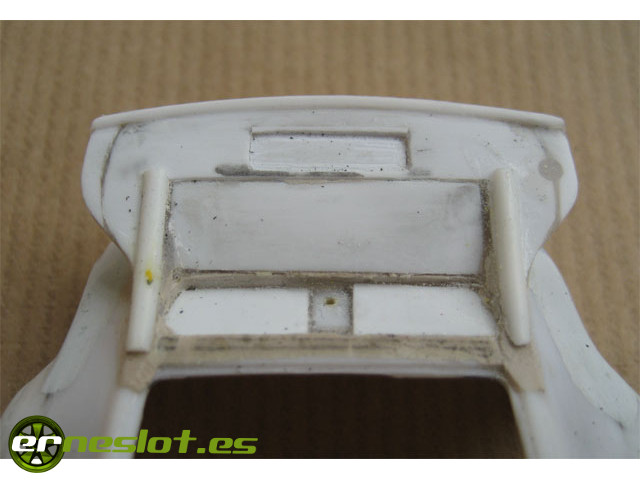
Completed all the molding, I gave the first coat of primer Duplicolor spray.
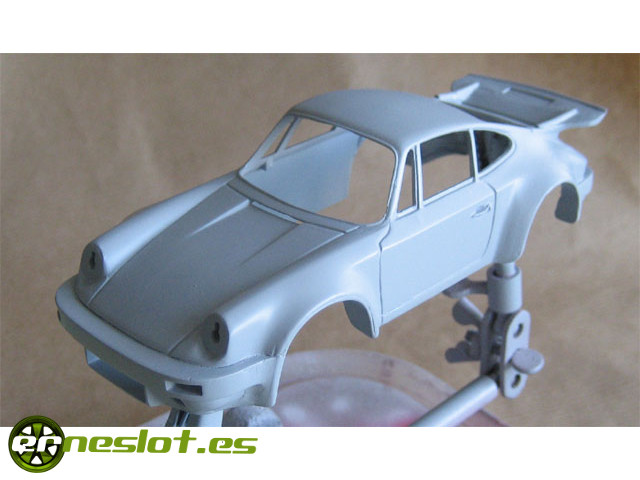
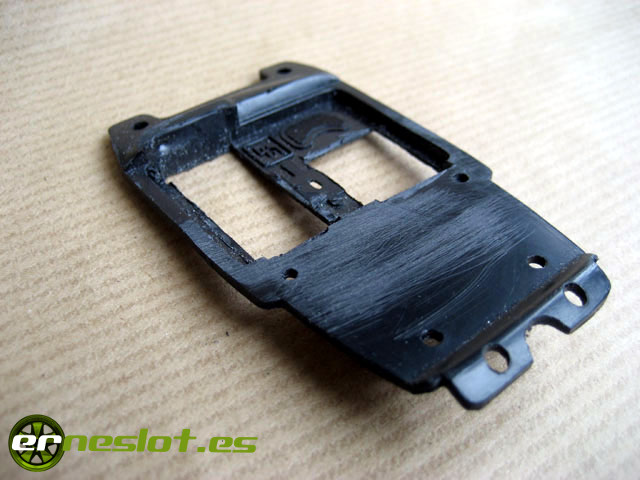
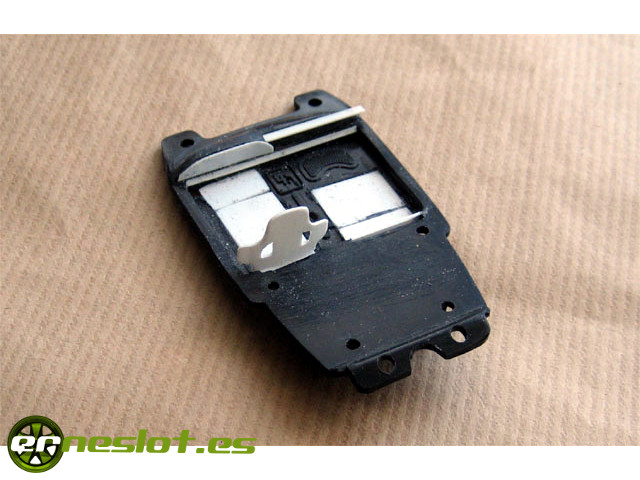
While the primer dried I took to improve a bit the car, easily. I removed the seats from the original drivers tray...
...,I prepared a backet as close to the original car with a piece of evergreen...
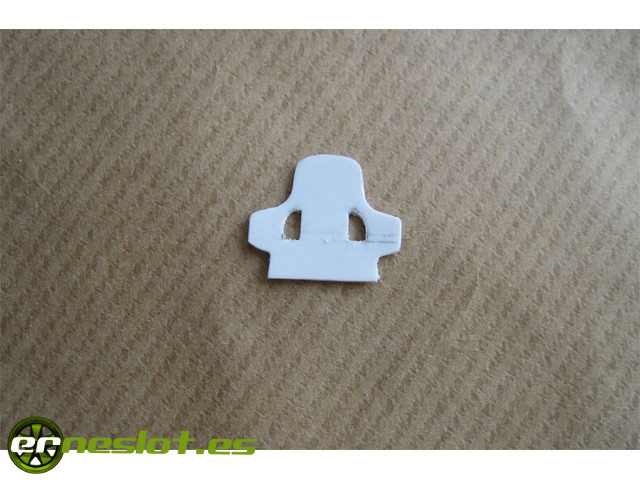
...and pasted it together with other strips of plastic to slightly improve the dashboard:
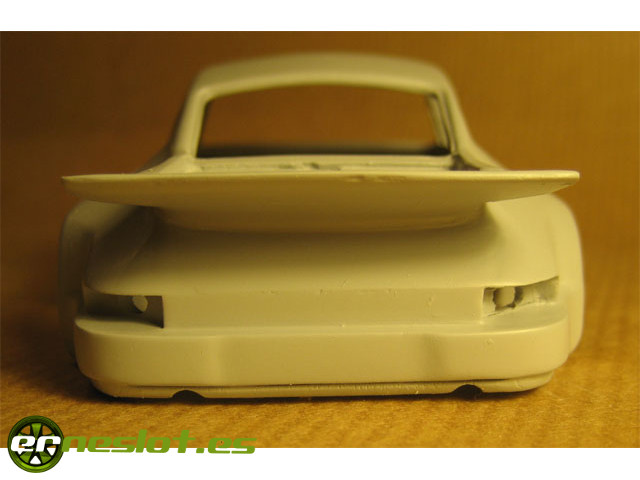
The rear spoiler was a bit crooked, but I fixed the problem sanding a little and filling up with putty below:
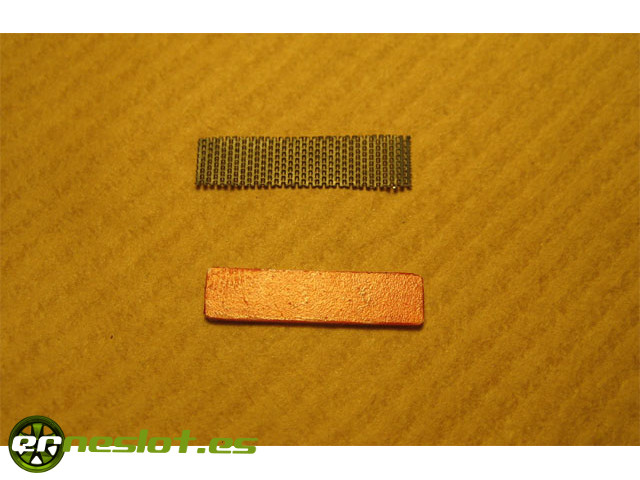
For the front grille I used the grid of a broken television, I mean the grid is inside the screen, which is technically called "shadow mask" and which is right in front of the phosphor layer covering the inside of the screen. This is a very fine wire mesh and pretty tough. Well, with electrician´s scissors cut a piece of the grid:
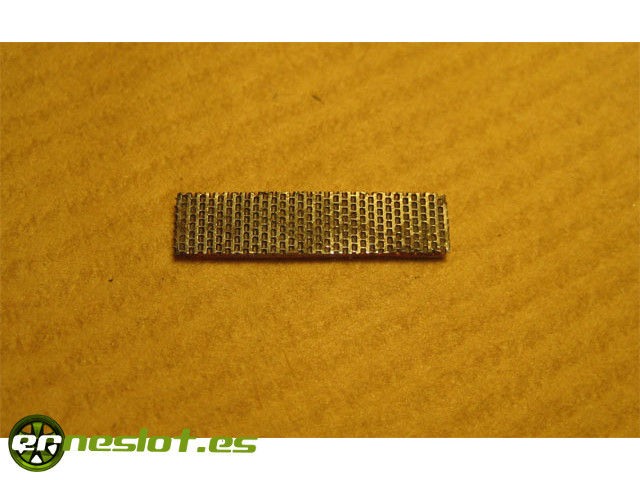
subsequently glued onto a strip of painted orange evergreen plastic to give the necessary rigidity. The result after to file it to fit is this:
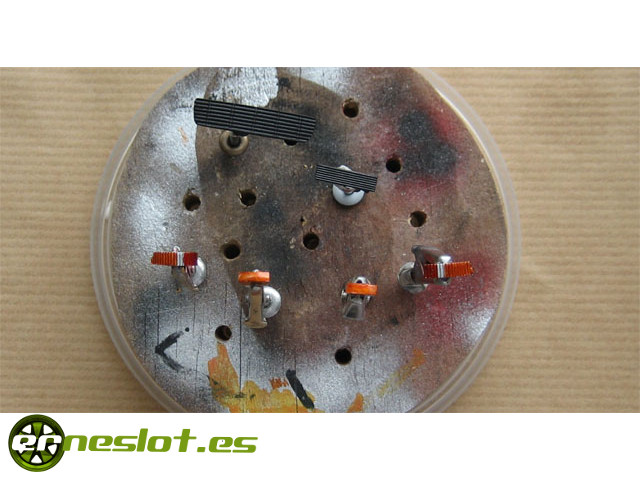
Continuing with the details, I proceeded to paint the grilles and headlights of the car. The front indicators I have done with a strip of thick evergreen, cut and tailored to the measure. Are painted with Humbrol metallic enamel and then the color of the lights with orange and red indelible marker. The resin grilles are painted with enamel of the same brand, matte black.
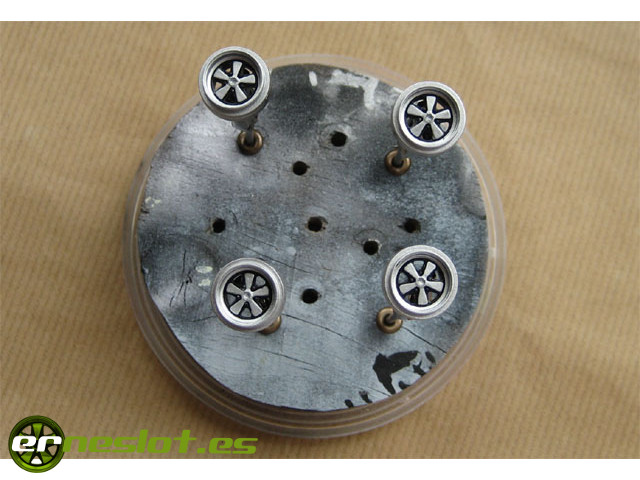
For the wheel rims I used Ninco Fuchs ones, with the spokes painted with the same metallic paint than the headlights.
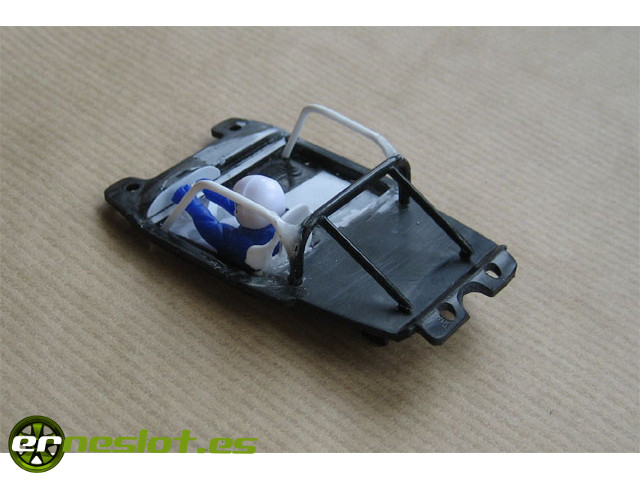
And to finish with the interior details the roll-over bar made of two strips of evergreen stuck with bicomponent glue:
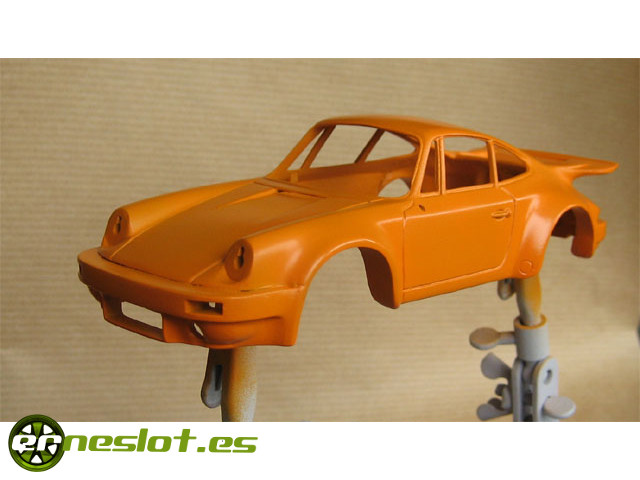
As the bodyshell was finished, after a soft wipe with waterproof sandpaper I gave a coat of orange acrylic Tamiya paint X-6 reference. I think it is a lighter color than the original model but I really like and do not wanted to move. Also, fortunately this color covers pretty well, so that three hands were enough to make the car ready.
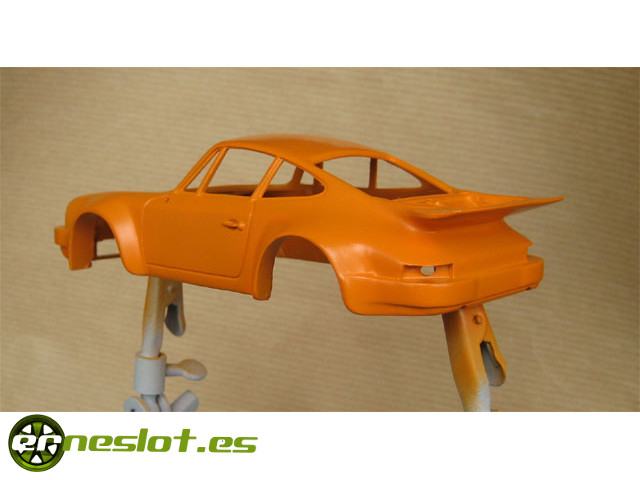
Between coat and coat of paint (and accompanying passes with grain 1500 wateroproof sandpaper) I was painting the interior, and here's the result:
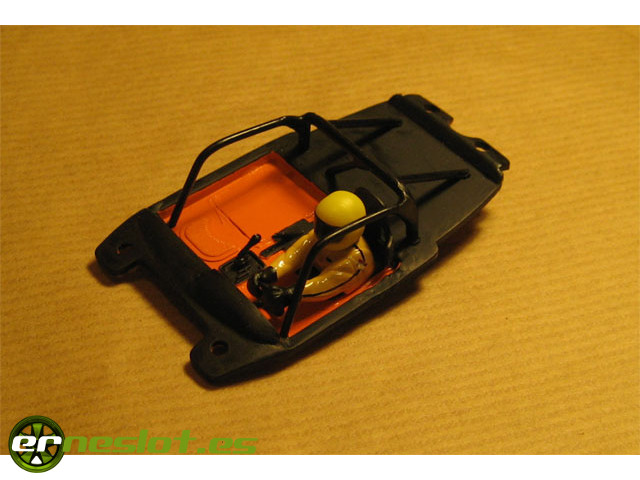
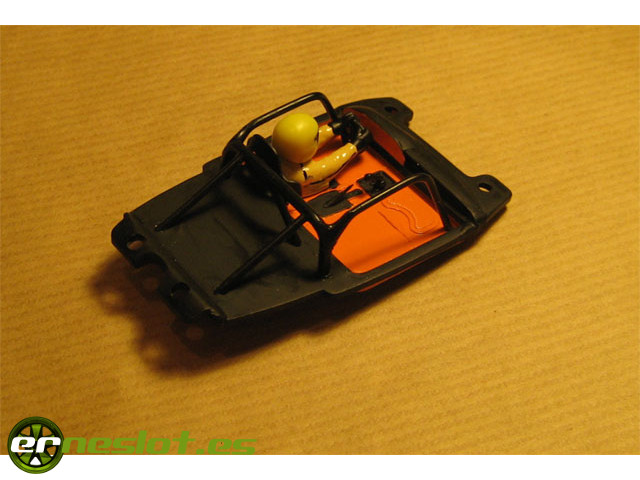
I tried to paint the pilot clothes comes closest worn by Mark Donohue with cream Humbrol enamel and other fine details with indelible marker in various colors.
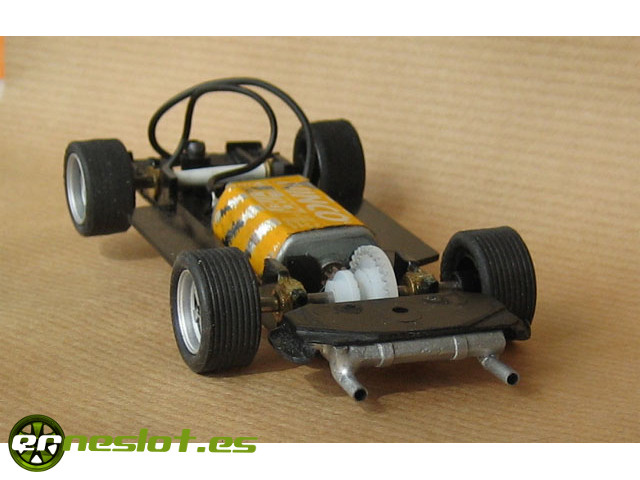
To end the little details, I built an exhaust pipe, based on the original bearing the chassis by adding a muffler and pipes, plus occasional evergreen details:
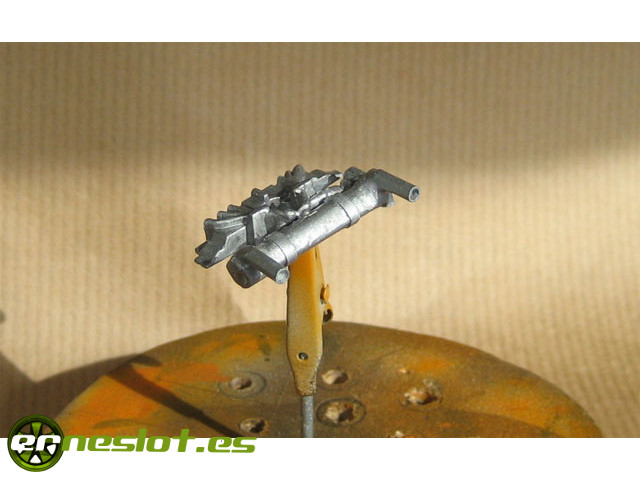
placed on the chassis looks like this:
Moreover, the bodywork was completed after painting the window frames and door handles with Vallejo matte black:
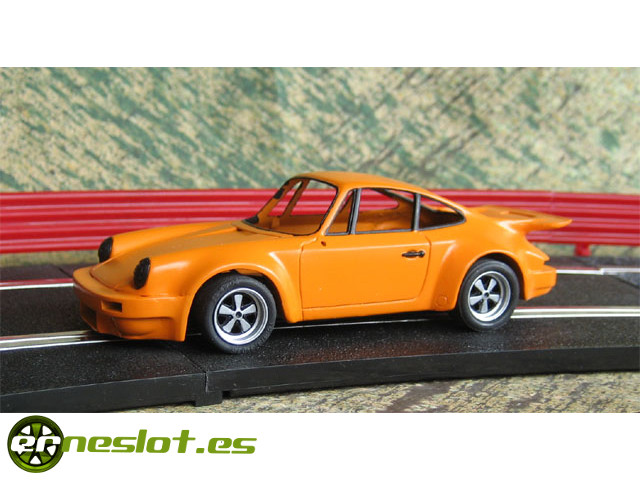
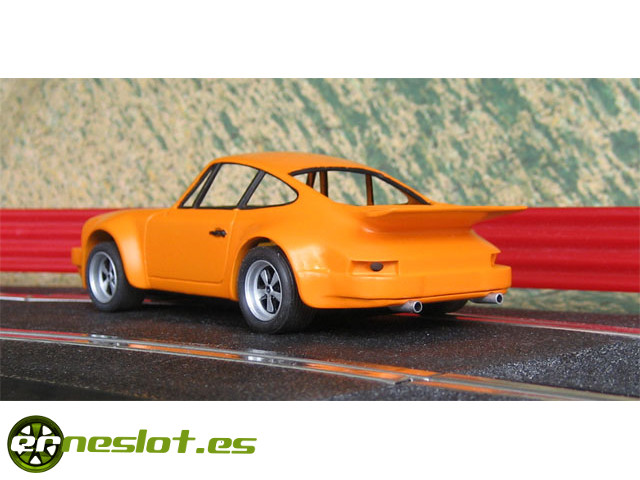
The rear tires are front Ninco and the front ones Scalextric engineered to reduce its diameter. The engine is a Ninco NC3 with teeth pinion and 31 teeth Cartrix crown.
To do the decals did not take me much work, after all, logos are 6 or 7 different and quite simple, many of them were already vectorized so only had to adjust to the size of the car. The only logo I had to do from the start was "UNION 76" rear bumper but it was very easy .. My biggest concern was the matter of varnishes and others. The paper I used is of A2M, transparent and white depending on the logo, and as I had been told is quite bloody to work with, especially when varnish.
Once printed the decals (I did several for testing) I let them dry thoroughly, at least three days to avoid disappointment ... Tried to apply Vallejo acrylic satin varnish and "Bosque Verde" both airbrush and paint brush as the results were:
- Applied by paintbrush, the ink run with the two varnishes despite being quite dry, especially the "Bosque Verde" (not saying anything new ..), but the Vallejo is far more respectful of the decal.
- The Vallejo acrylic varnish applied with an airbrush without diluting does not attack the ink of the decals, with airbrush it difficult to throw it because is quite dense, but it covers very well. The problem is that left somewhat translucent to transparent decals, and above all very thick, so despite varnish the bodyshell after placing the decals with "Bosque Verde" is note much gap. To his credit I must say that I may pass with their hands (they were four generous coats in total) and that the decals are indestructible, you can take with your hand, stretch, whatever is not troubled.
- The "Bosque Verde" varnish applied with an airbrush gave me the best result by far. The first coats must be very light, because otherwise the varnish attacks and diluted the ink. I've tried with 3 and 4 coats, the last generous but not spend, and three is pretty good, but somewhat delicate, four are phenomenal and this is how I made decals for the scale model.
Once the decals placed the car was like this:
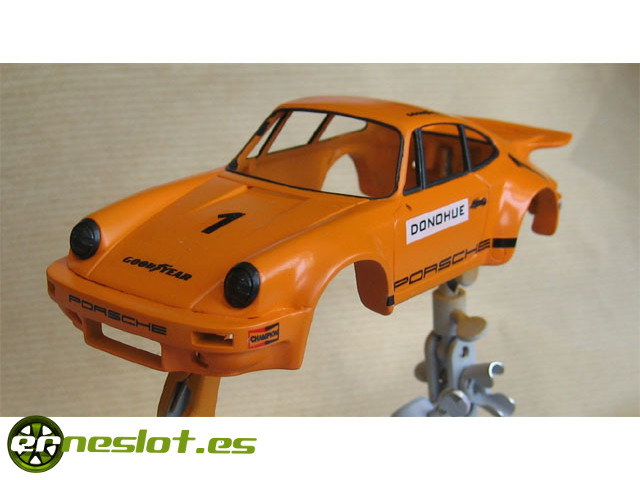

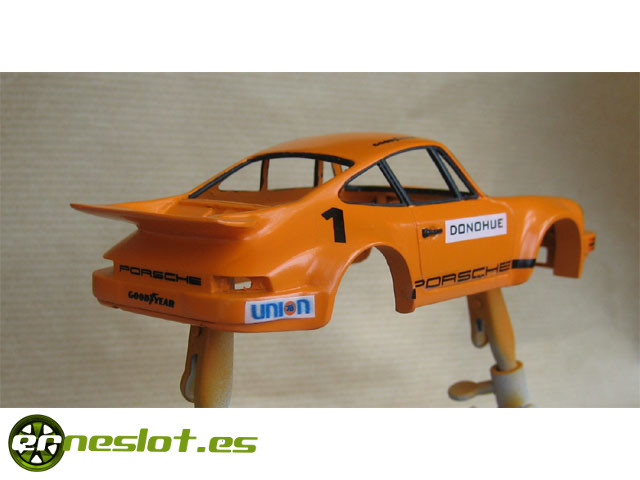
With the decals dried I gave two coats of varnish "Bosque Verde" with a paint brush, let it dry a couple of days and mounted:
El resultado ha sido completamente satisfactorio, con un resultado mucho mas cercano al modelo original que el del coche de partida. Objetivo cumplido.
| Chasis | Porsche 911 Ninco, adapted |
| Wheelbase | 73 mm. |
| Dimensions (L x W x H) | 136 x 57 x 37 mm. |
| Weight | 69 gr. |
| Engine | Ninco NC3 |
| Front tires | Scalextric lowered |
| Rear tires | Ninco 19 mm. |
Fortnightly updates, new cars and more in www.erneslot.es


