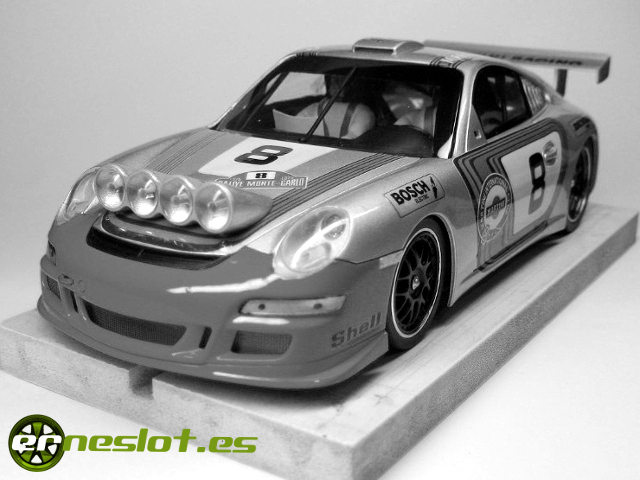
Porsche 911 GT3 "Targa Florio 1973"
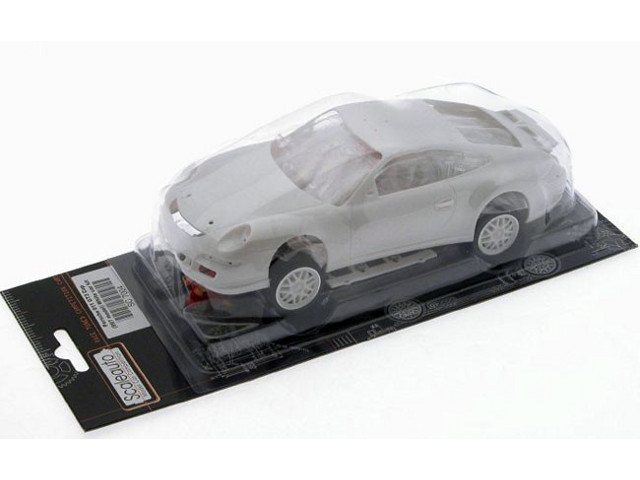
This year 2013 in the slot club where I occasionally run have included new rallyslot category for scale 1/24 cars. The cars in this category are espectacular, by its larger size and detail regarding 1/32 scale cars. To participate in this class I bought a Scaleauto kit, the Porsche 911 (997) GT3, SC-7004 reference. Kit includes chassis, mechanics and a Porsche bodyshell completely disassembled with all components to paint and decorate. The kit looks as follows:
To choose the decoration for the bodyshell cost me a bit. I have nothing against the current liverys, but I much prefer the classic ones, especially those of the 70s. In the club, the competition is rally racing so after thinking about the decoration I chose to do an interpretation of the classic "Martini Racing" livery with which the Porsche works team entered and won the Targa Florio in 1973. The Targa Florio was not a rally test, it was rather an endurance test that was developed in the province of Palermo, Sicily. The participants were powerful circuit cars running on conventional roads, crossing villages and up and down the Madonia hills in a circuit that grew to 1,000 kilometers in one of its toughest issues when race around the complete Sicily island. That same year, the race was no longer part of the world championship sports car because was too dangerous. A decision logic moreover, because it was crazy to run 500 hp cars by narrow roads without security measures and spectators and houses a few meters. After 1977 it became a conventional rally test.
The following photo shows the RSR participant and winner of the race in 1973 with the decor in which I'm going to base for my car.
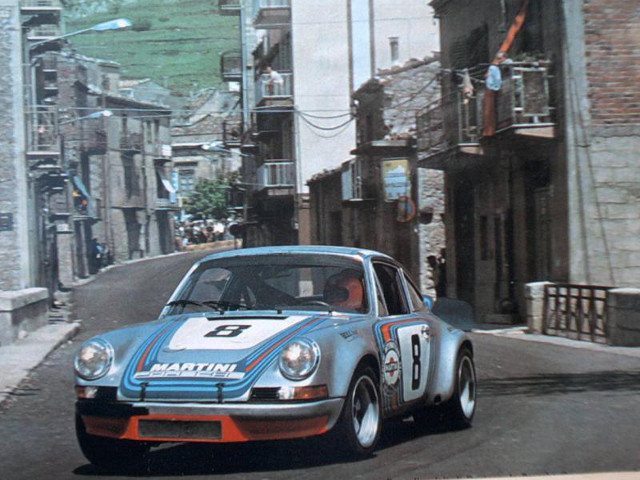
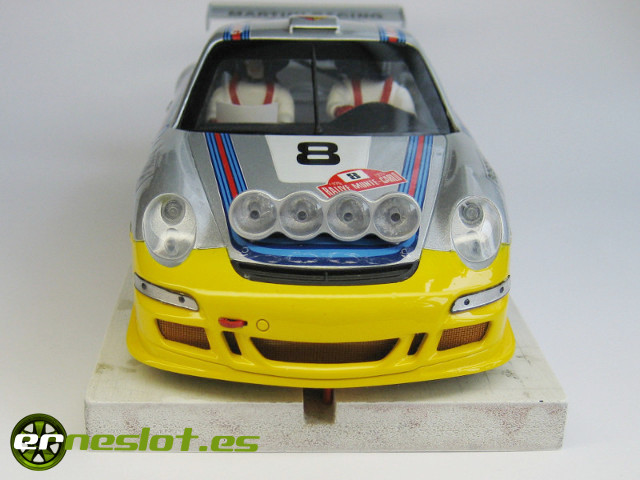
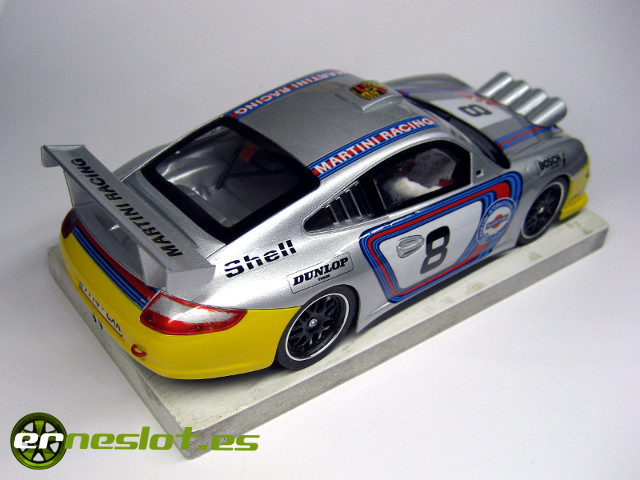
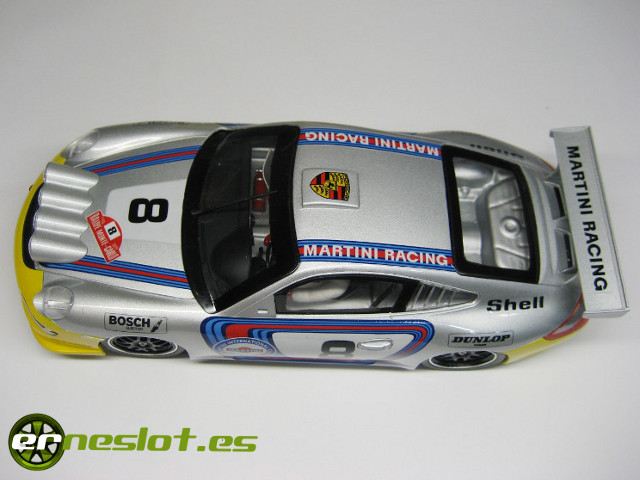
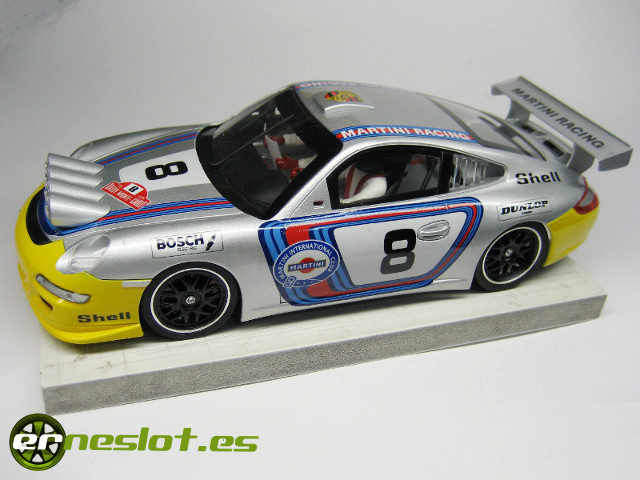
The decor is simple, the car painted in metallic gray with red front and rear bumpers. Highlights are the blue and red Martini stripes that cross bodywork, the bonnet, roof and doors. The rest of the decor is limited to the sponsor logos. Being an interpretation of classic decor on a modern car I've had many licenses. The logos have placed them where I thought, bumpers painted yellow (as the second Prototyp RSR participant in the Le Mans 24 hours the same year) instead of red, and finally, I placed a plate of the 1975 Monte Carlo rally, because the rules of the rally category 1/24 in which I participate obliged to place at least one, and Targa Florio cars of the time had no rally plate.
For me, the value of this decoration is not in its beauty, but it was an excuse to implement some new techniques I had some time thinking about. Specifically helped me to be clear three ones:
- Print the decals on white paper instead of transparent.
- Paint the glasses for the interior.
- Use automotive varnish to protect the decoration
So I planted the car decoration not only as a decoration in itself but as a lab to test the three points discussed above.
Regarding the water decals. Normally I print the liverys on transparent paper. If the base color of the body is clear the result is very satisfactory, but in many cases the results are not what you want. About this subject I spoke time ago in "Building water decals" in the decoration section of "Tips and tricks" that you can find following this link. It commented that the colors you get with inkjet printers are not as solid as they should be, and we must take into account the base color of the car decoration. If the base color is white or very light, the transparent decal paper is ideal for our decorations. The colors will not suffer variations and base color of the vehicle itself will supply the need of white for parts or logos of that color. Often problematic aspect. But this ideal situation is not always the case, as in this case, and we have a car painted in metallic gray. The black and very dark color logos look great on just about any color, but with other lighter shades such as blue, red, yellow, the results are not as good. For example, in this case, being a metallic gray surface, if I print the decals on transparent paper, red and blue Martini lines show through a bit and result in a metallic tone, especially in the red, while I not dislike, is far from the original color of the decor.
To try to solve the previous problem I tried to print the decals on white paper. The white surface of paper give the strength to the tones to kept the colors unchanged, regardless of the base color of the body. The only problem is that it can not always be done, because the decals must be cutted carefully so once placed a white border around the edge of the decal do not appear. I did not know how it would affect the ink of the decals as the edge trim, feared to submerge in water the ink placement and spoil the decals but did not. Due to a generous coat of protective varnish the ink endured well into place without appreciate obvious defects. And mostly got what I wanted, a solid colors are not affected much by the basic color.
This technique can not be used in all decorations, but in the case, the results have been completely satisfactory.
The second test I wanted to do was to paint the edge of the windows inside. The windows of the car have a black rim. I had seen some decorations in the painting had edge on the outer face and others had simulated the waterslide decals placed on the contour of the windscreens. I was not convince any of the two solutions, so I painted the inside of the windows. First masked out the windows for no stain, and then masked leaving only free inside the window edges. Being a car at 1/24 is easy to do by their larger size but if a 1/32 scale could also be done.
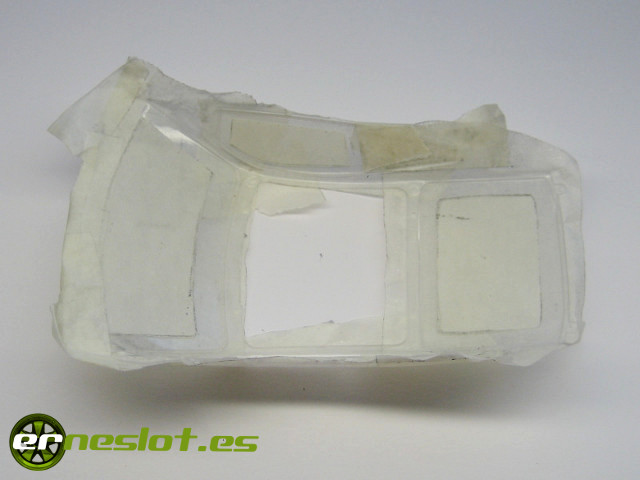
And then I painted in black with matte black acrylic paint applied with an airbrush.
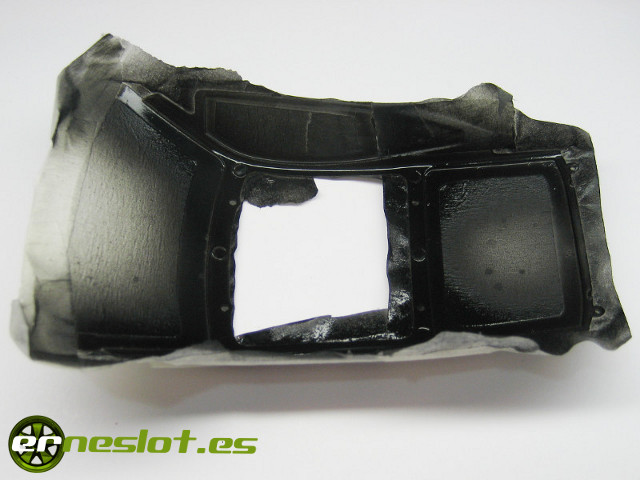
The result is really good, but next time will use glossy black instead of matte black paint.
And the last test I did on the car was to varnish with automotive varnish. The same protective varnish used in body shops to paint and lacquer cars. These varnishes are composed of two components, the coating itself and a catalyst who acts as a hardener. The two components are mixed in a ratio which depends on the varnishes. The one I used, the ratio was two parts of varnish for one of catalyst. For other varnishes ratio is 3:1 but the application is the same.
After the mix of the two components, the liquid is completely transparent and very dense. In body shops those varnishes are applied with spray gun, so that the density of the lacquer is no problem, in fact, the varnish must not be diluted. But I had to apply with airbrush, and the nozzle is much smaller than that of a spray gun, so I had to dilute it. For this, use pure acetone, as recommended my friend Alberto, until the mixture is appropriate density, it left for the airbrush nozzle and cover the body well. Applied the varnish in two stages following the advice of Alberto, a first coat over the car paint, and second after the placement of the decals, so they were placed between the varnish and avoid as far as possible, the gap between the decal and the surface of the car.
In the first coat over the dry car paint, I did not took care enough and dust was stained in places. Varnish dry thoroughly for 3 days (actually the varnish dry completely in 24 hours) and sand the body with a very fine waterproof sandpaper, to remove dust spots and some areas where the surface was left with orange peel. This varnish is a cut above the other modeling varnishes I have used, is so hard that you can sand and then polish without any impact on the car's paint.
After sanding the body to remove the defects commented above, placed the decals, without much difficulty, except the door oness due to its size. After letting the decals dry well a couple of days apply the second coat of varnish as I did the first but having much more care in cleaning to prevent dust motes. Applied the varnish a little more diluted than in the first coat, but the result was equally good, not attacking the decals or decorations despite the greater proportion of acetone in the mixture.
While I was waiting the varnish to dry after the placement of the decals, I decorated the inside of the car. The largest model size allows a perfect recreation of the decoration, such as the dashboard of the car, but in general terms I prefer to make it simple, because the car is to compete. The interior parts are painted with acrylic satin varnish, which gives a very real, especially seen live. The seat belts are made with strips of red tape.
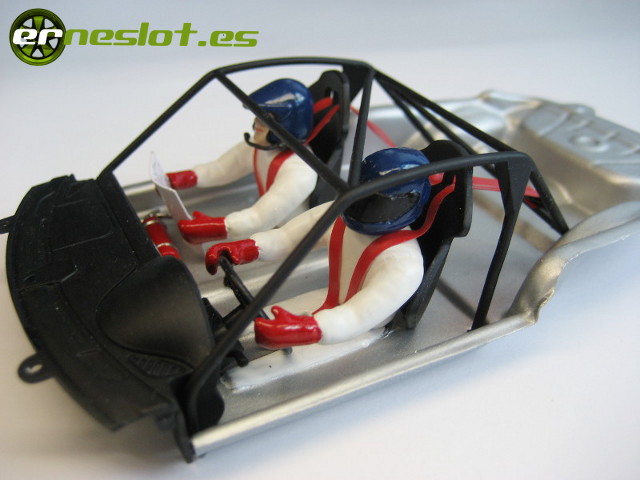
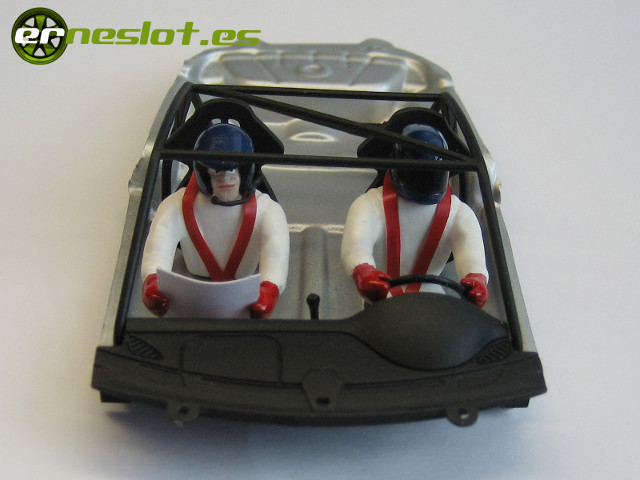
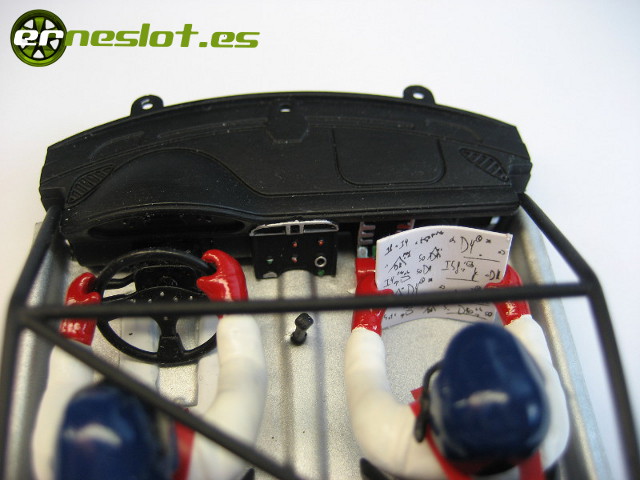
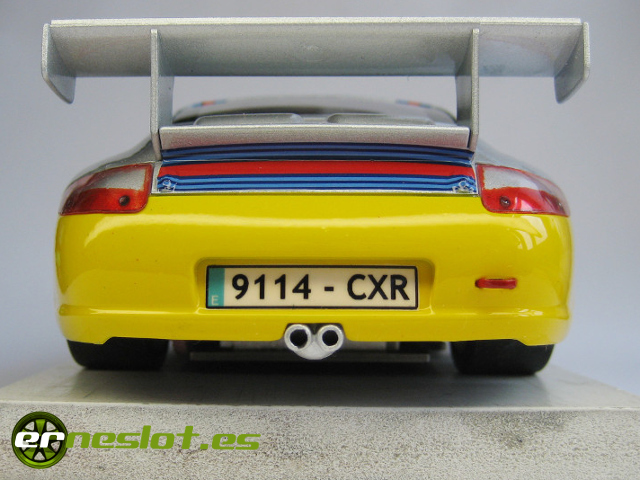
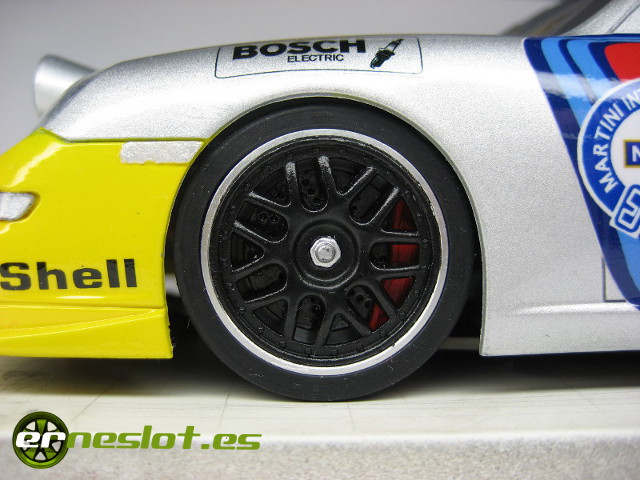
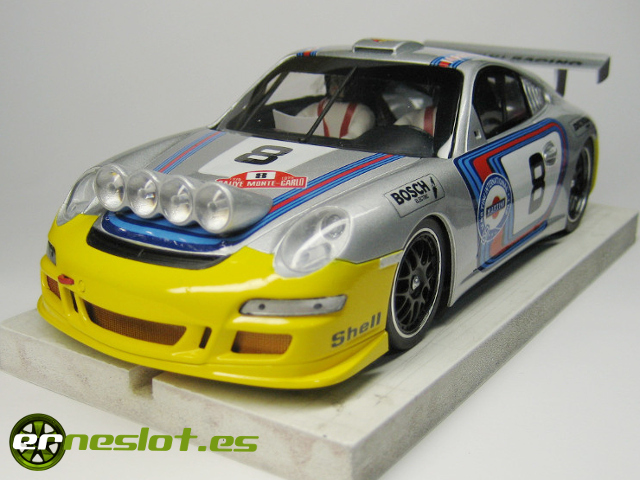
The body and other parts (tires, brake discs, grilles ...) were already painted and dry so it left to bould the scale model. This is the result:
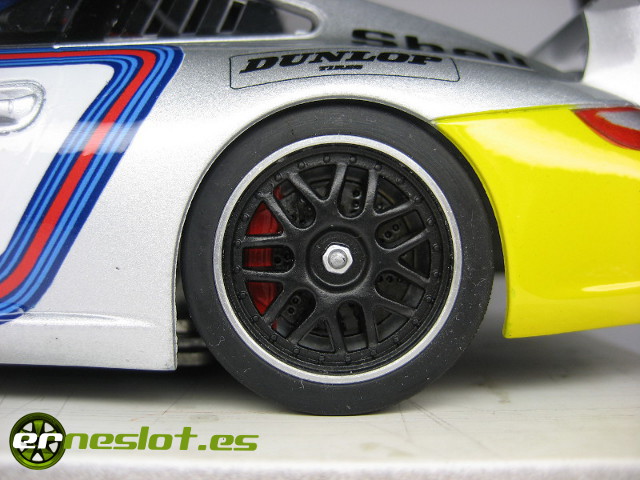
The rims are painted with gloss varnish, did not want to give them the automotive varnish because I don´t like shinig rims and to check the result with different varnishes. I did the same with the front grille.
In conclusion, to be a car for testing dind not expect such a good result. I liked the effect that make the windows painted inside, very real. The result of the decals is quite satisfactory, much more solid colors but shows through a little the background color, which is seen more in the registration plate, but you can not do more. Finally, I had discussed the benefits of varnish and indeed, as good as speak. The surface is very well covered and the decoration perfectly protected, does not affect the decoration and is very durable, perfect for use I´m going to give the car. Impressive results.
If you are interested in the decoration, the decals are for sale in the market section.
Finally, give the thanks to my friend Alberto for supply a sample of varnish for testing. Thank you!!
Go to topFortnightly updates, new cars and more in www.erneslot.es


